How to make growers yourself with beeswax or in vegan ways - Easy instructions
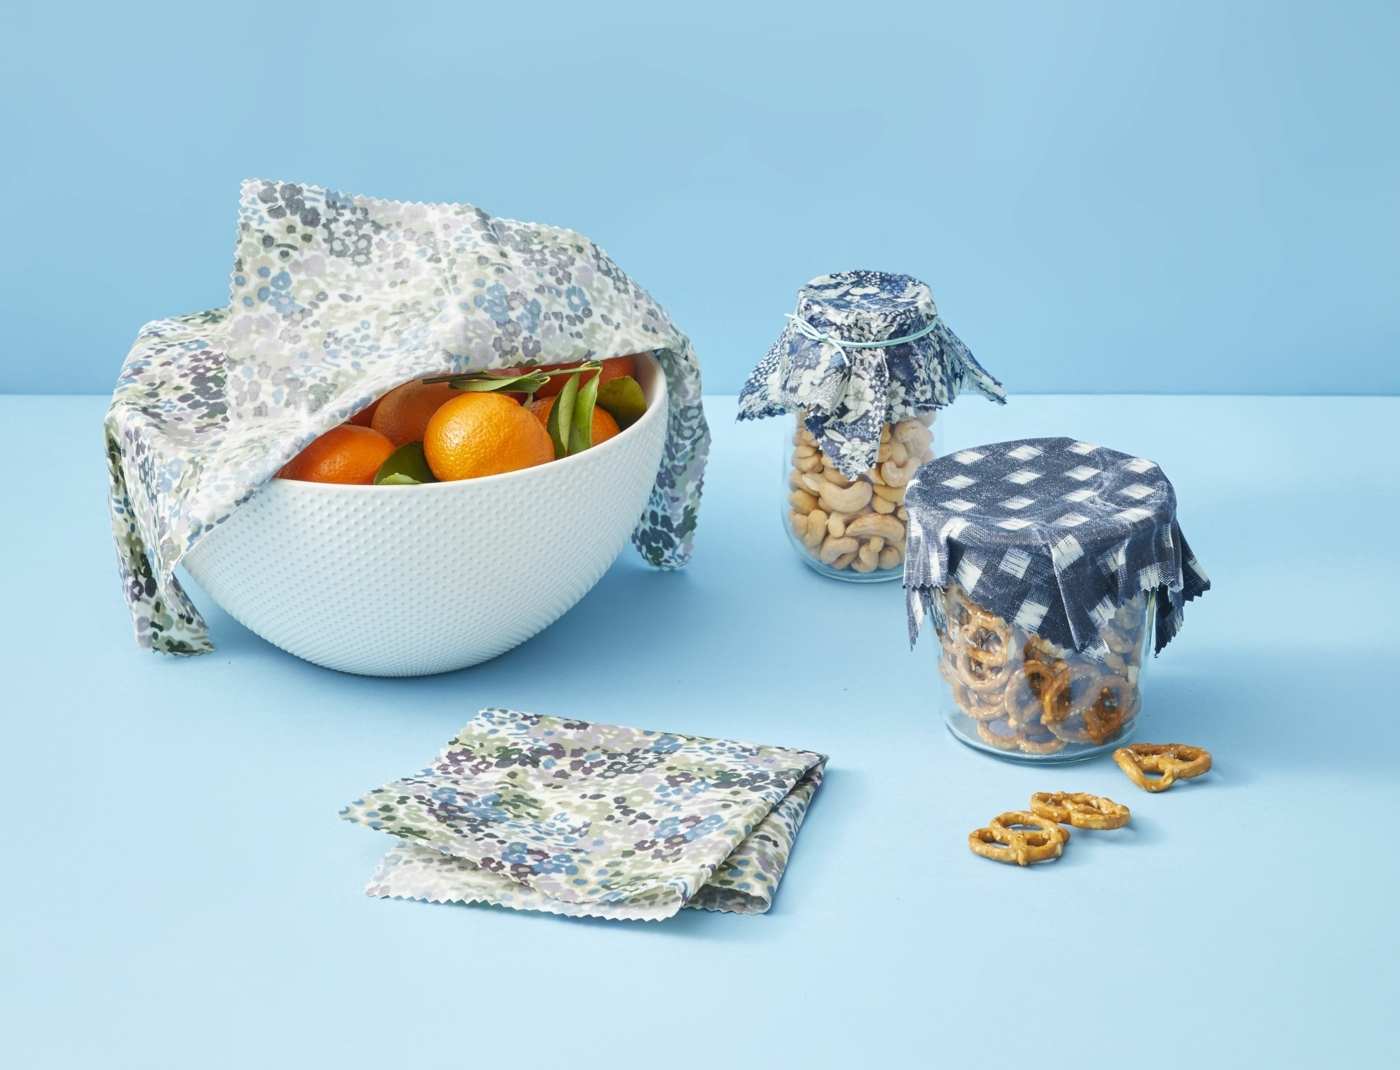
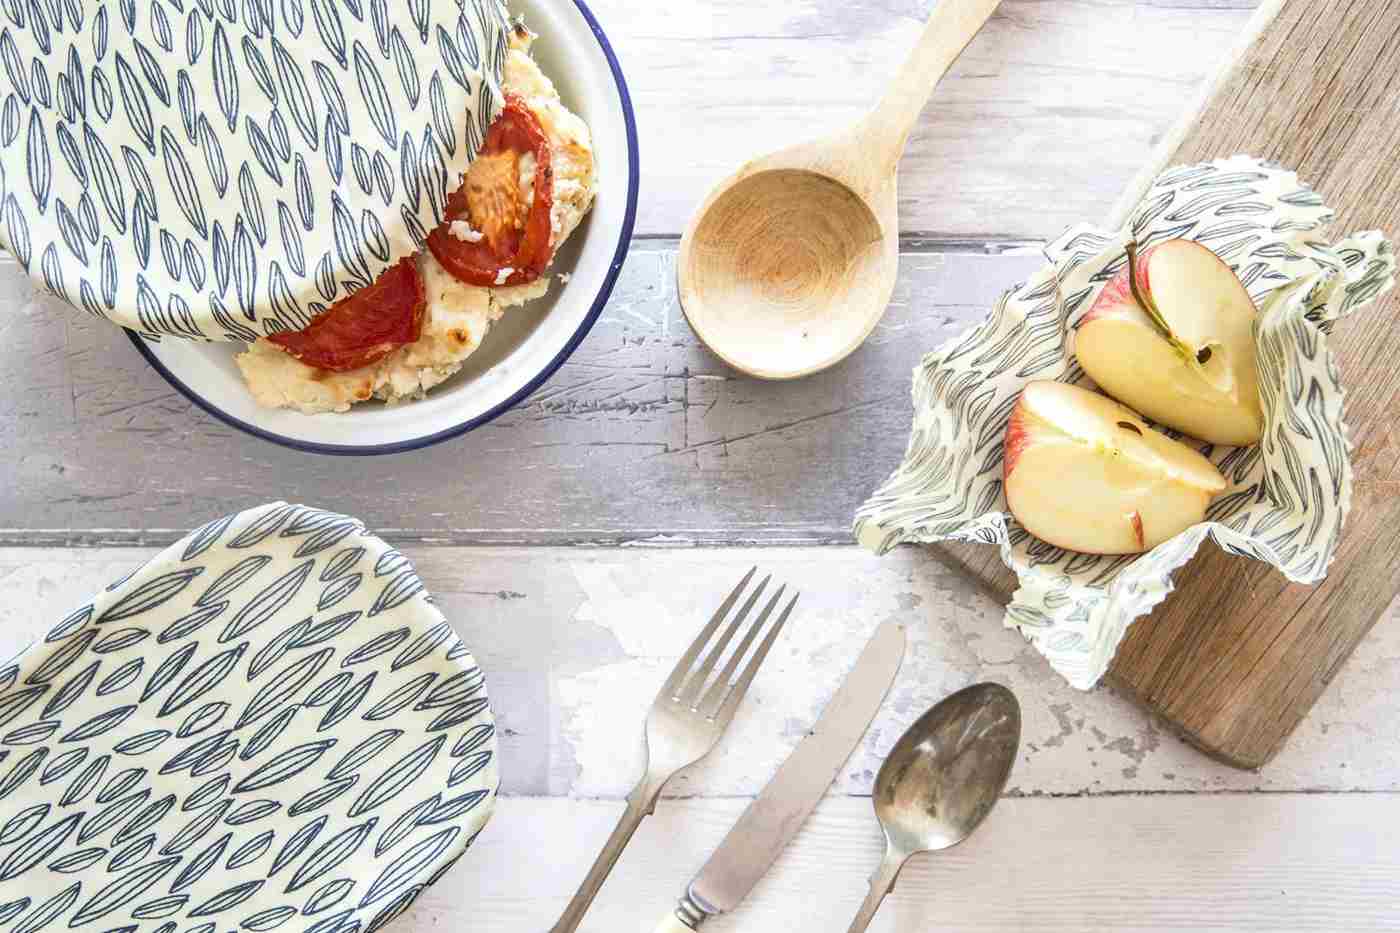
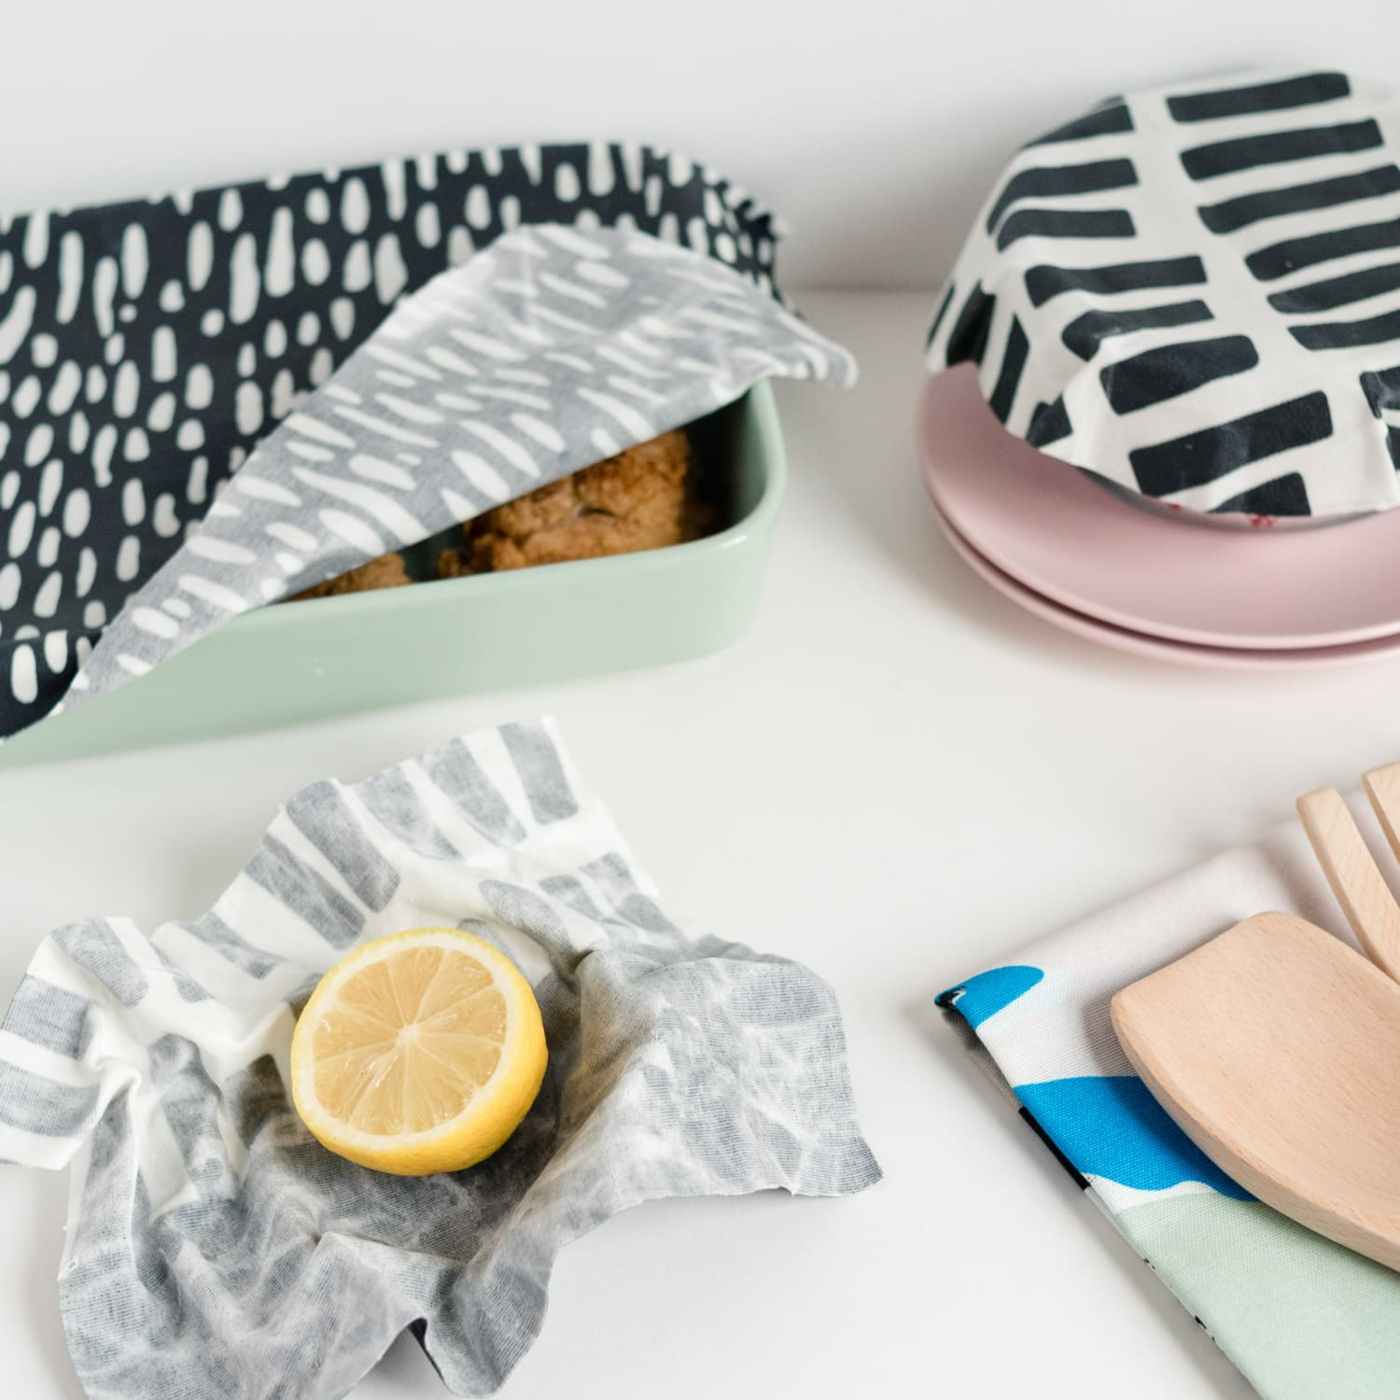
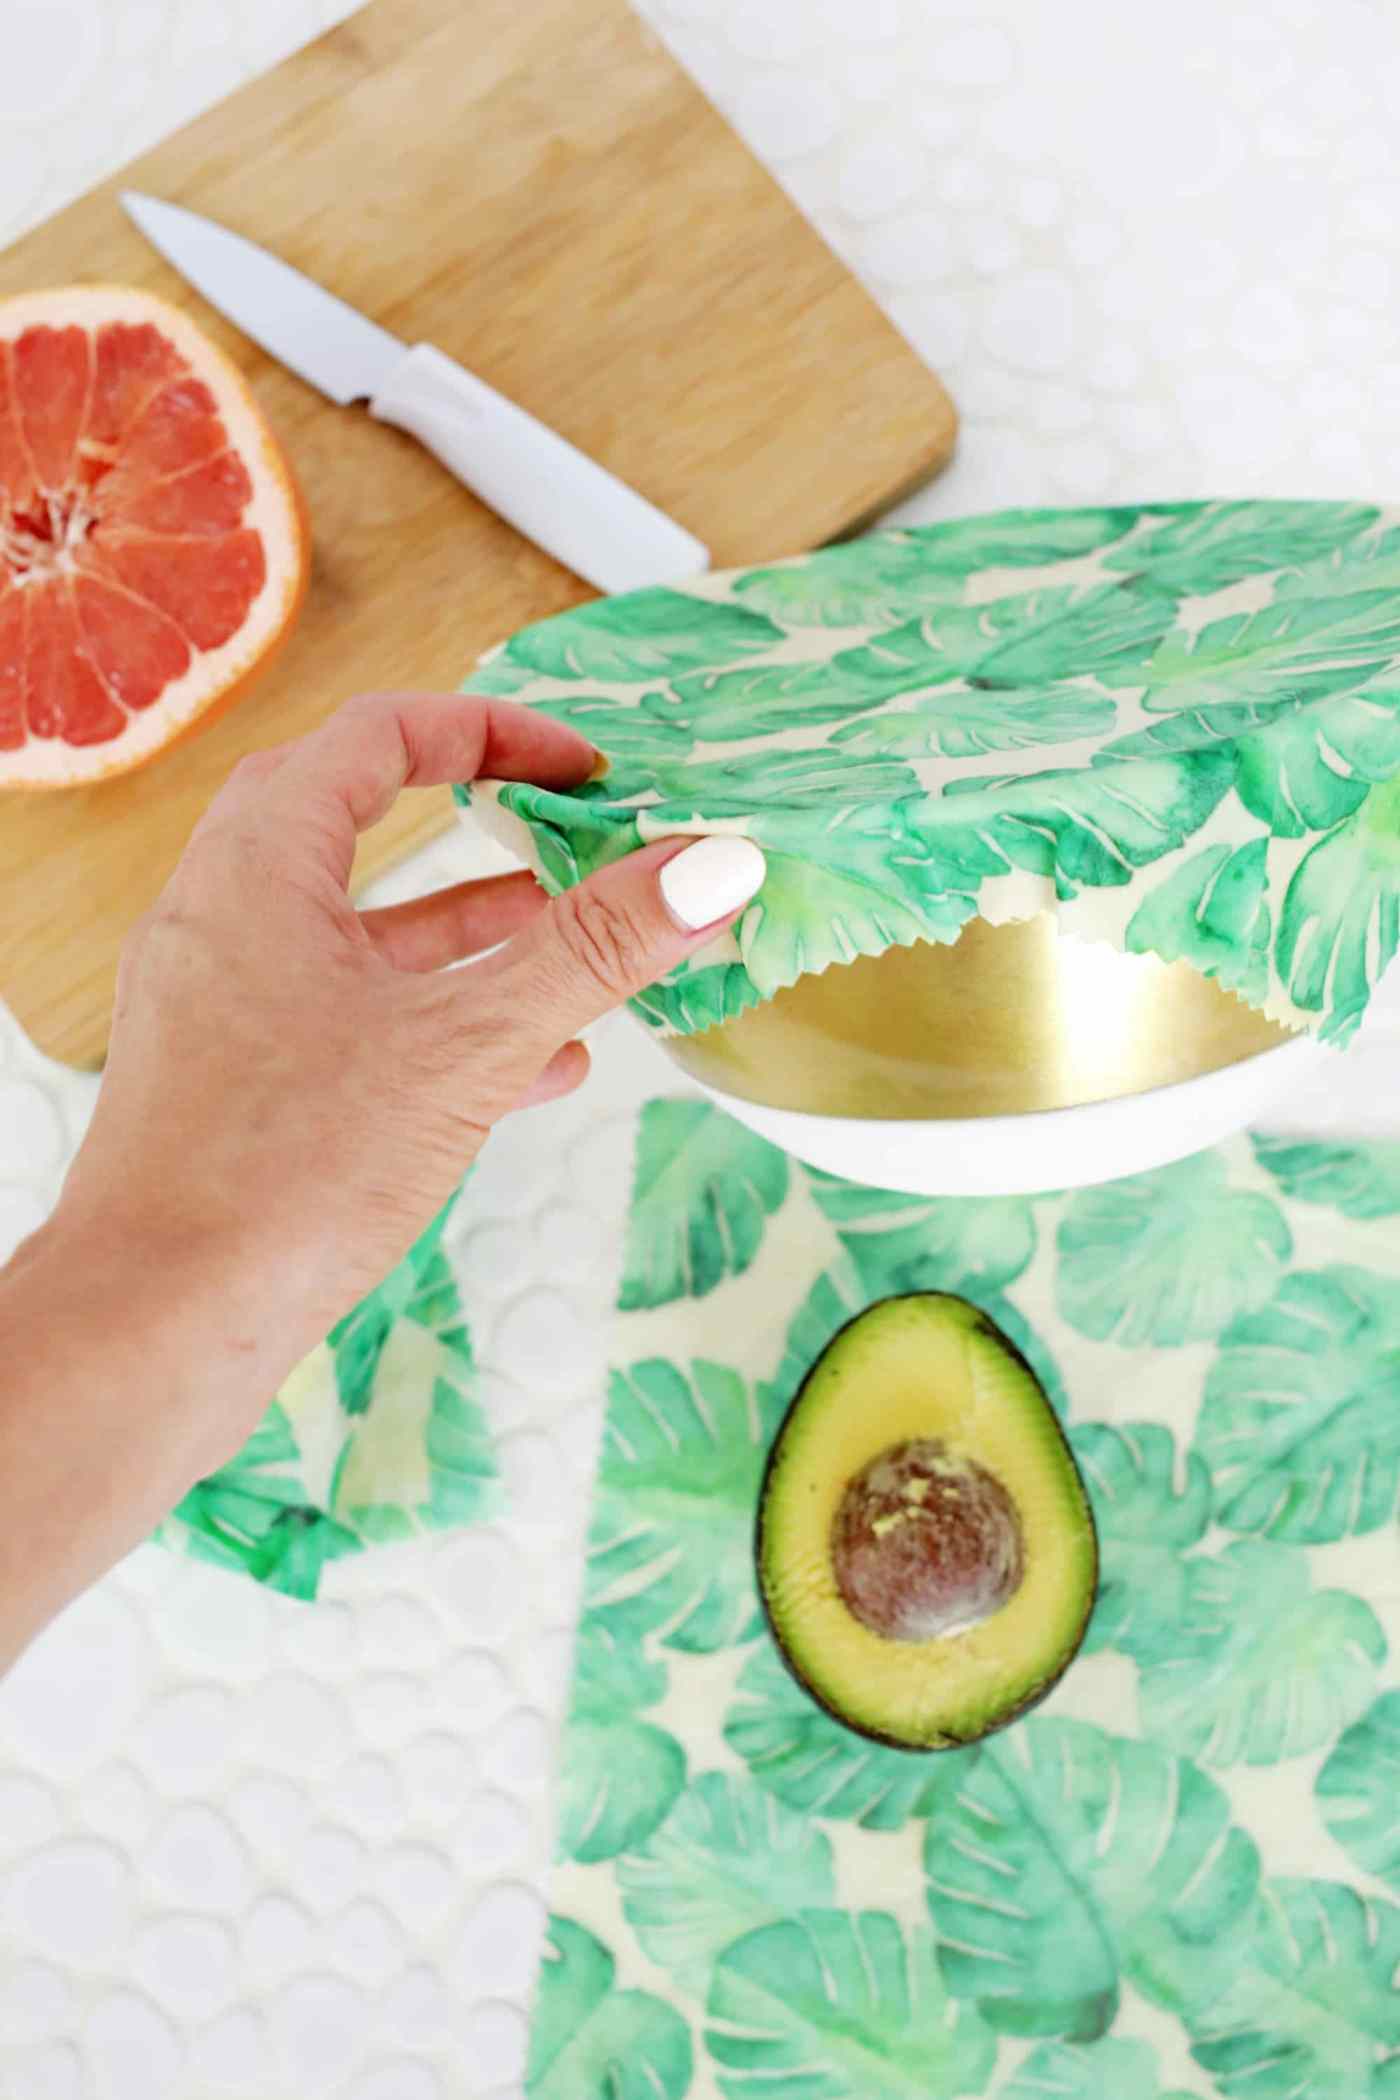
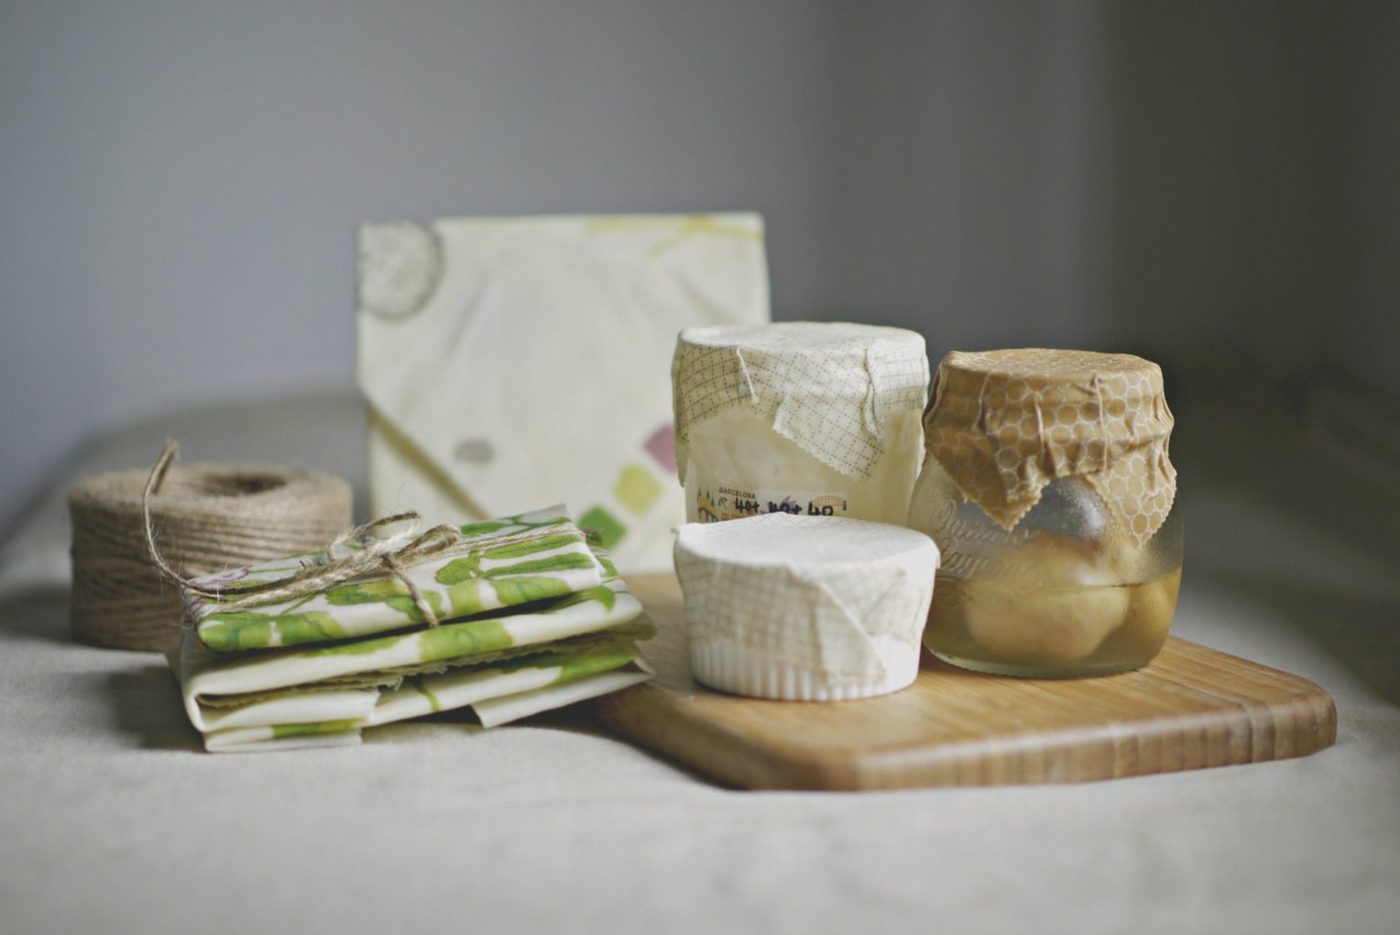
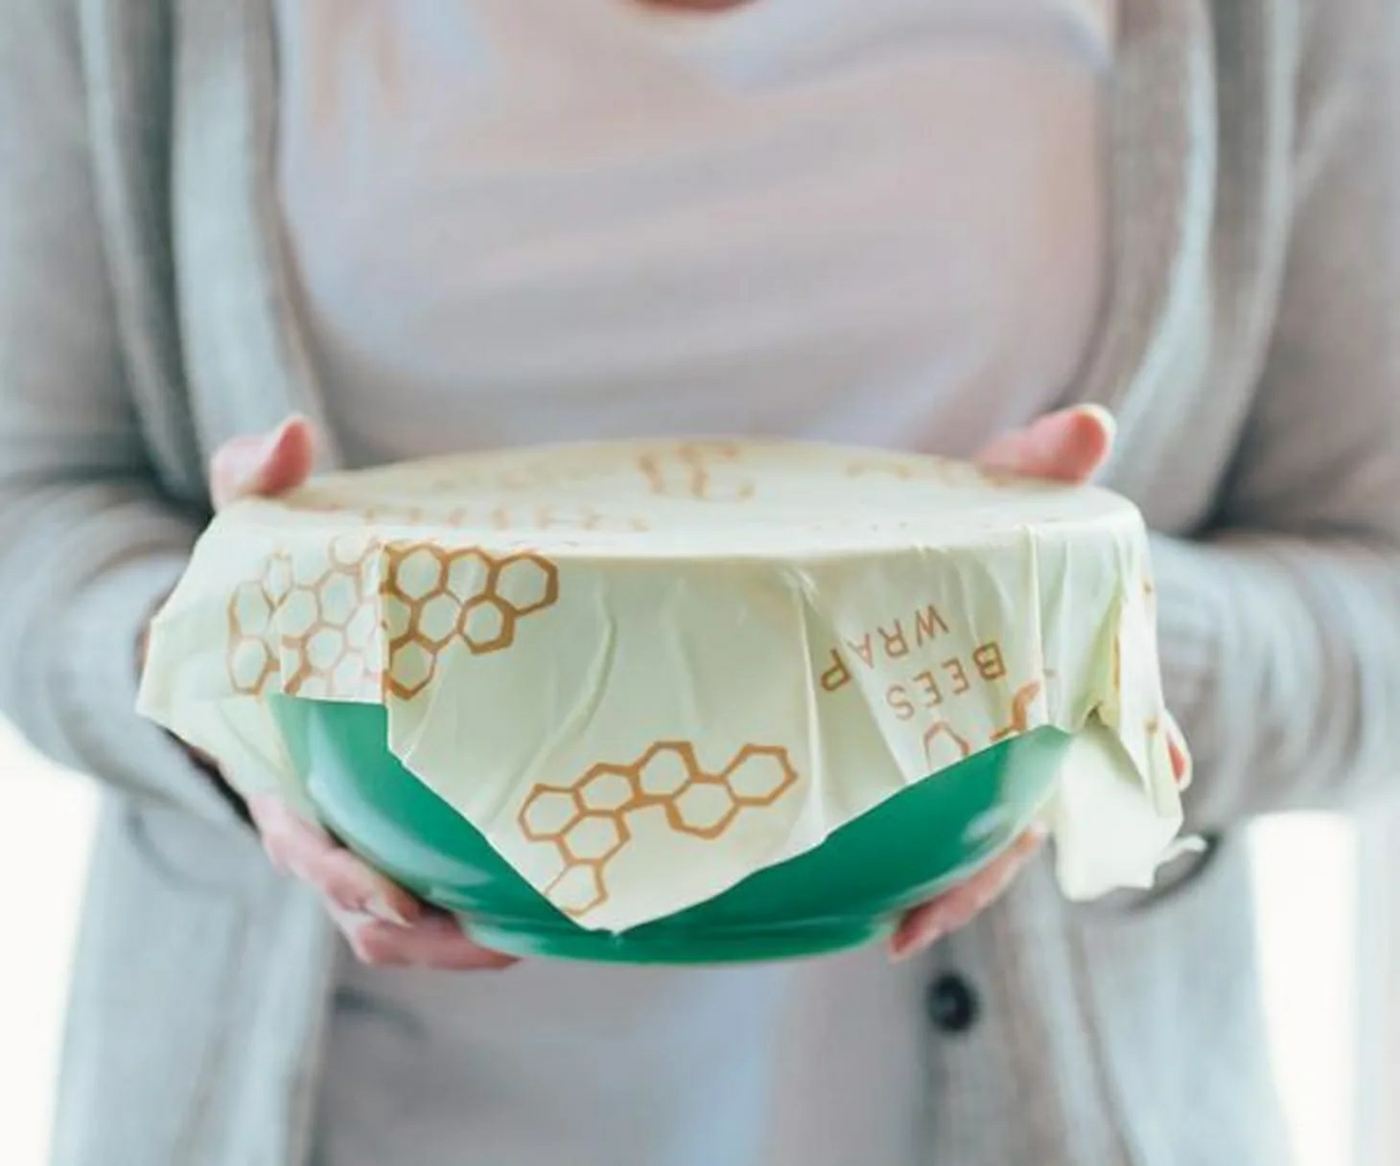
Few are aware of the benefits of growth. Because they are really useful helpers in the kitchen and in the household, with whom you can only save money, but also the environment can already. Although, with a growth, you can easily close wonderful containers and store them in this way food properly. And if you can re-apply a cloth, it is also a more favorable alternative to fresh foil. Are you curious and might as well use wax instead of fresh foil in everyday life? Then we even had another great message! Namely, you can also make your own laundry and need expensive and not very expensive things. We tell you today what works and offers you a few varieties for a bee growth DIY, as well as a vegan alternative, with which you can make food growths yourself. Lots of fun in imitation!
Grows themselves with beeswax, pine resin and jojoba oil
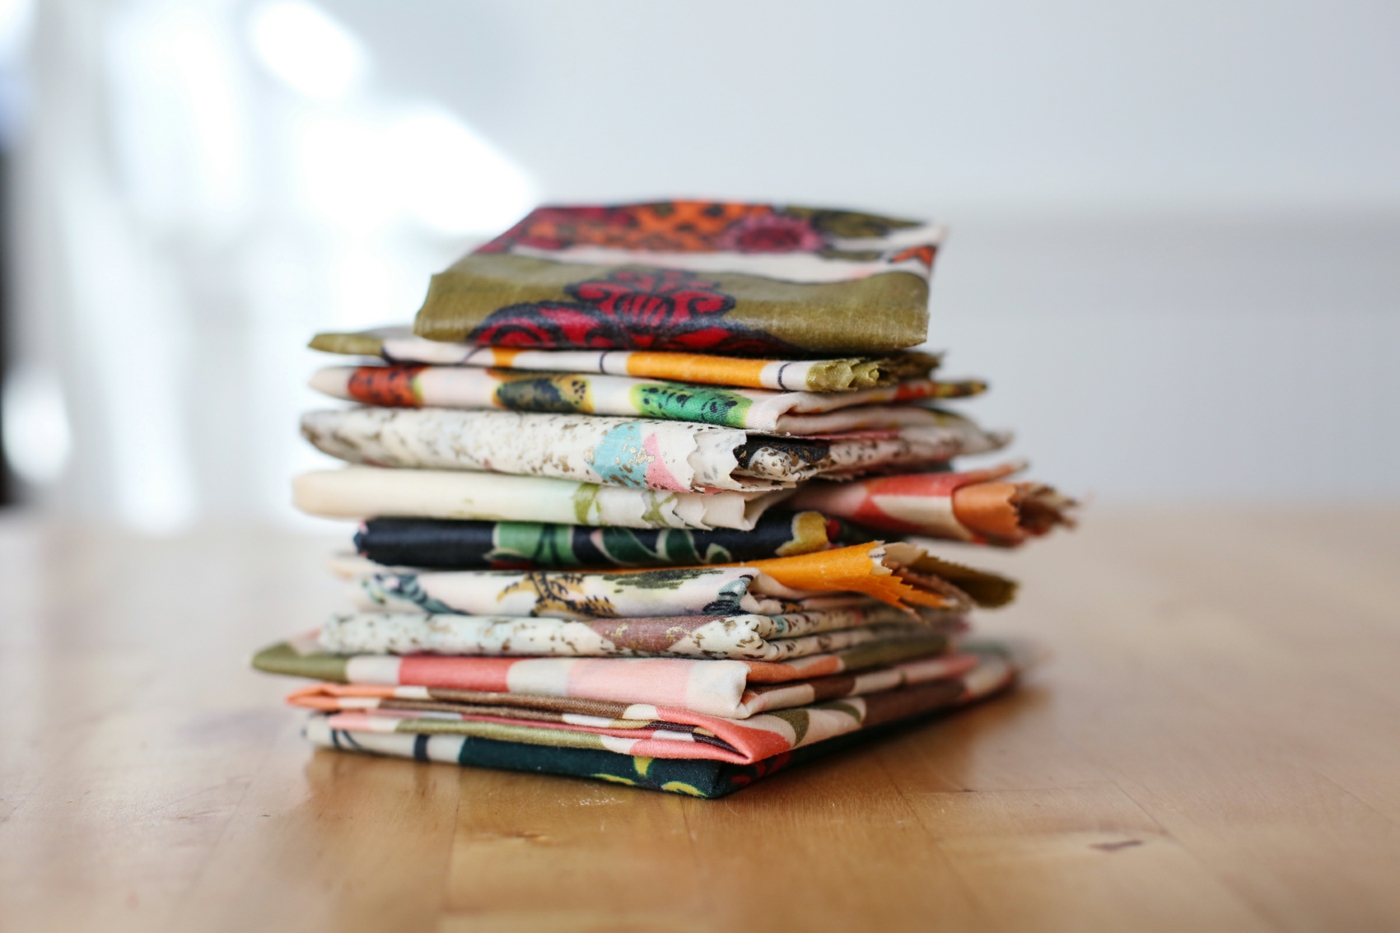
Beeswax is an ingredient needed for the restoration of growers. Other products such as jojoba oil, pine resin and of course a cloth, which is 100% cotton, should be added. If you want to make a resume yourself, you will also receive additional parchment paper as a base, as well as a paint brush. Lie down and prepare a baking sheet, washcloths and two tongs. Your size of cloth was of course also necessary for different amounts of ingredients. By and large, you should include the following:
Make 20 x 20 cm self-adhesive
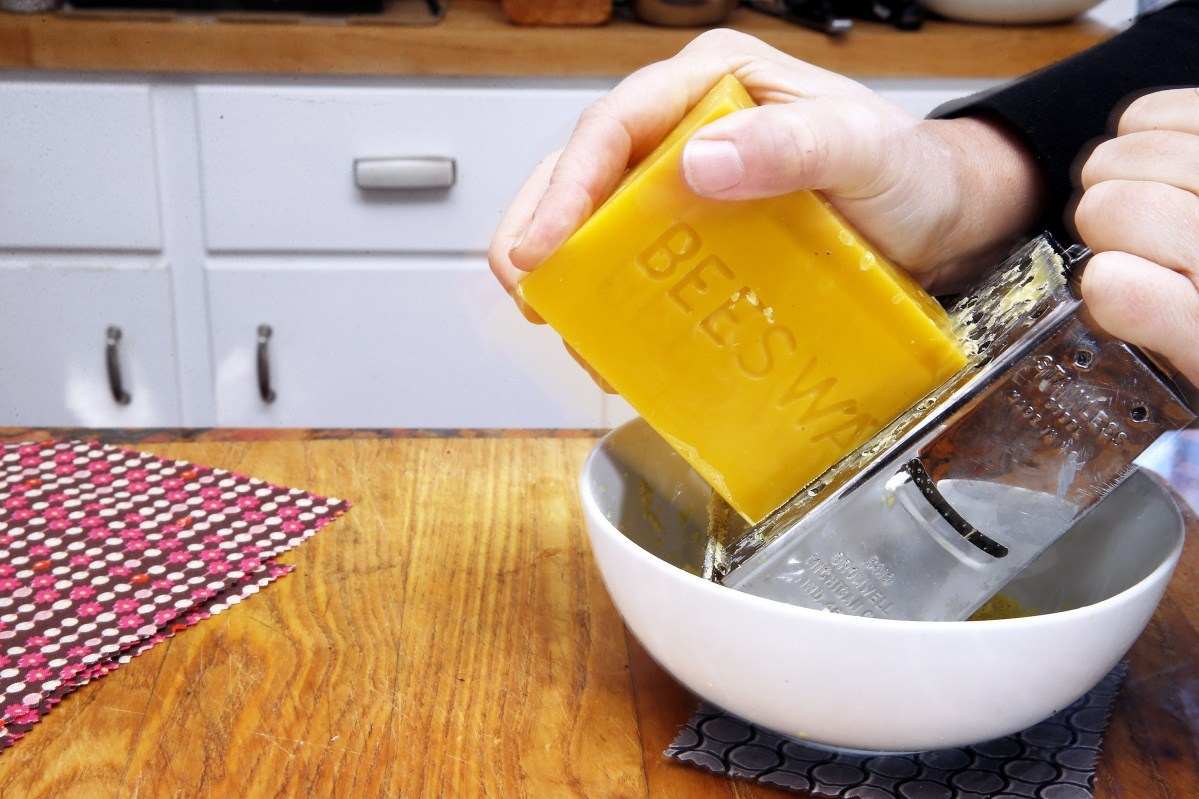
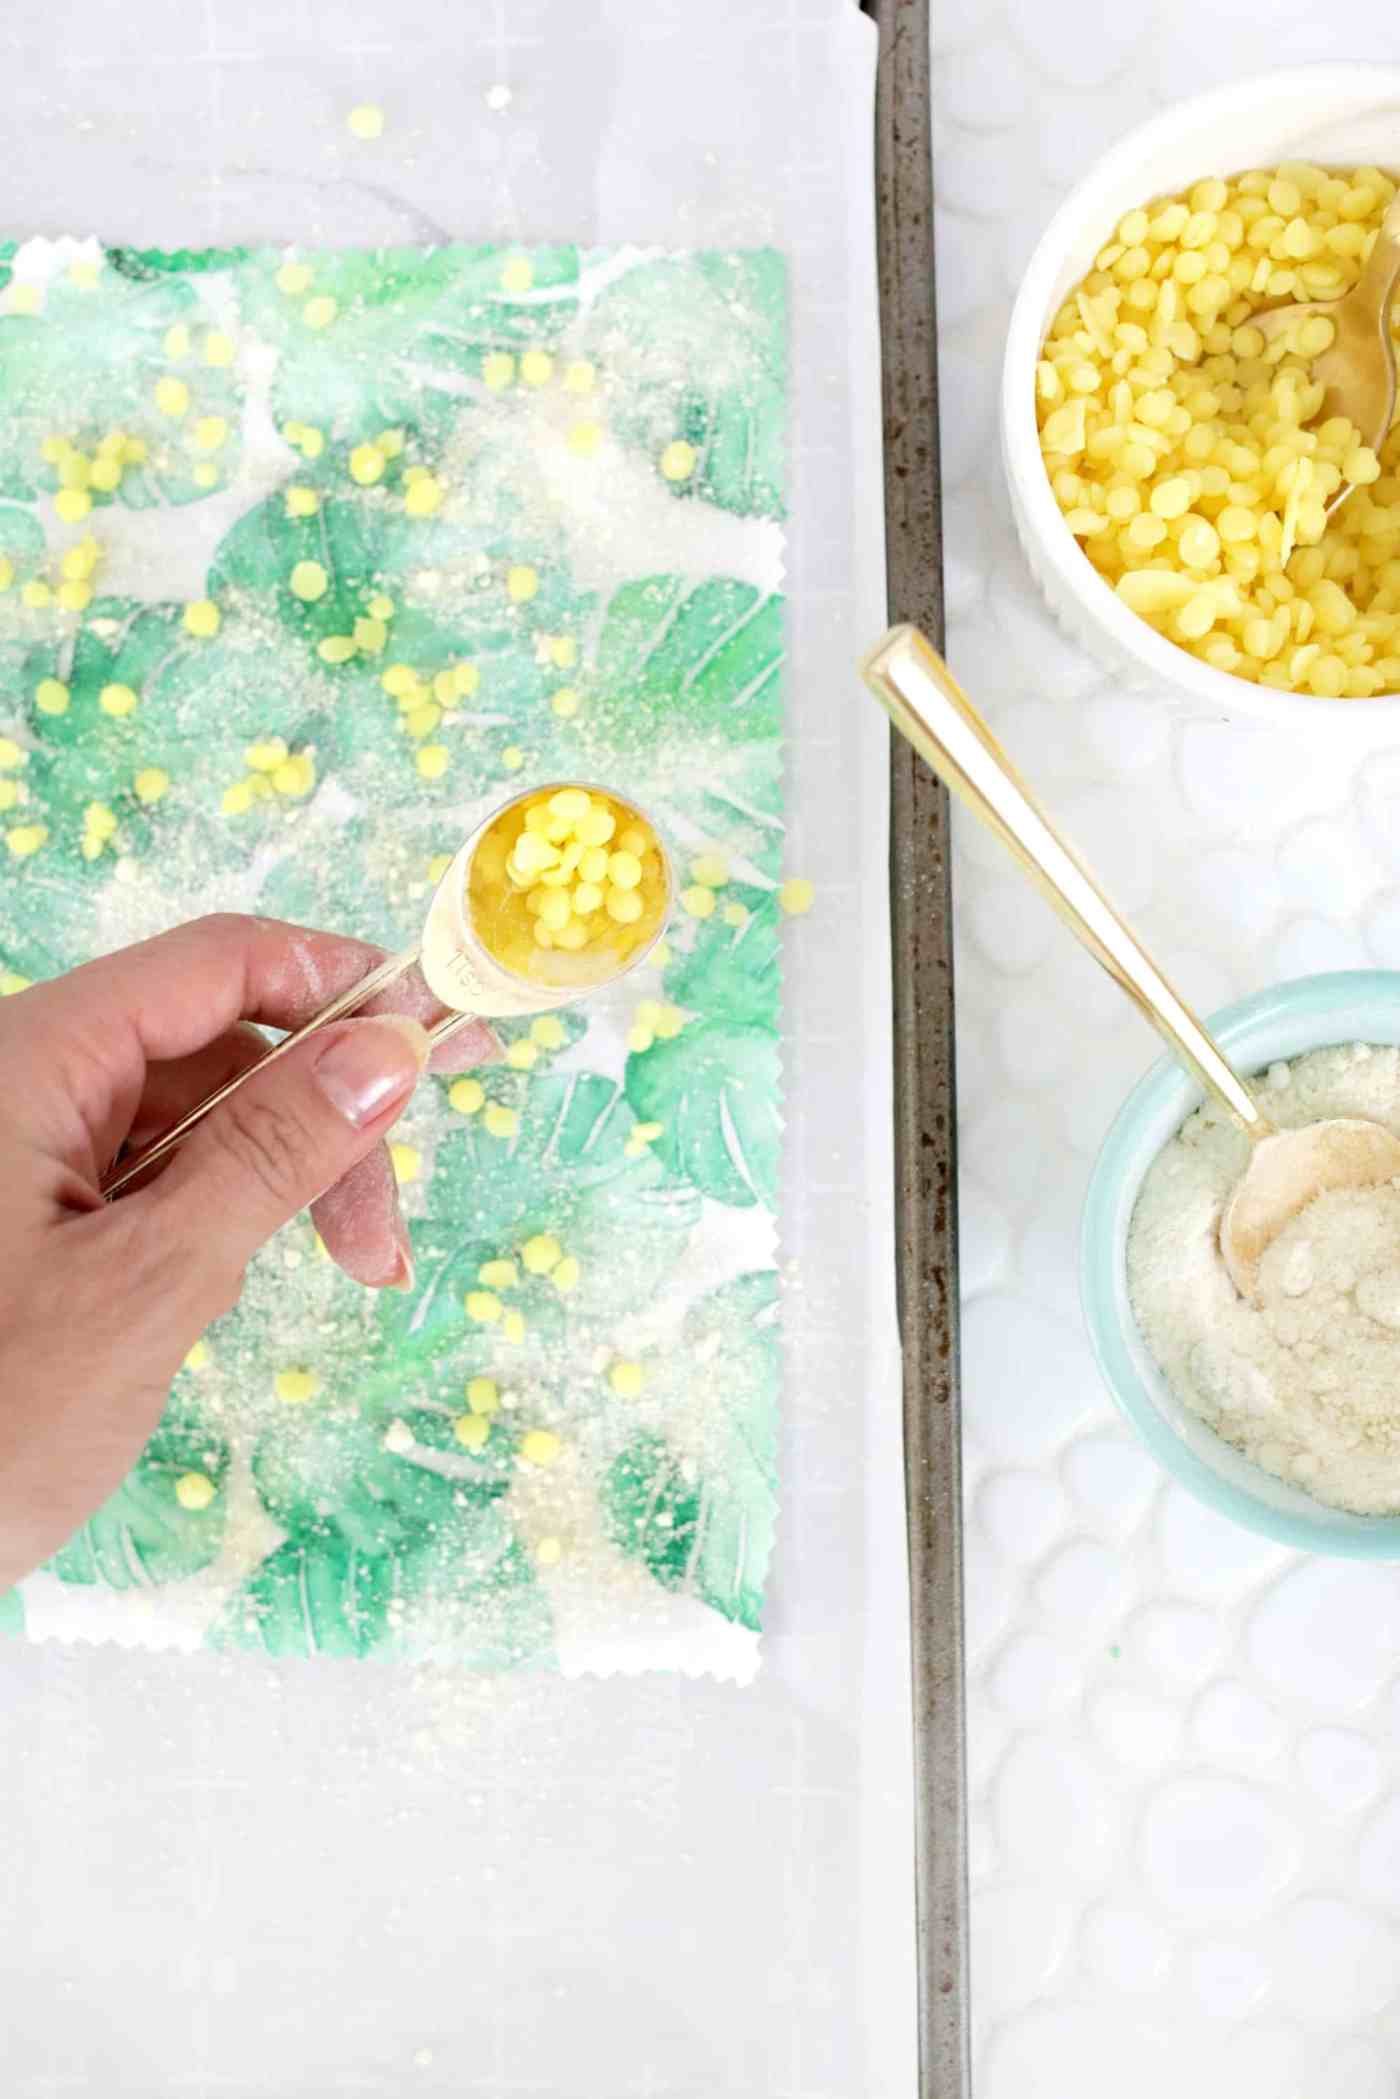
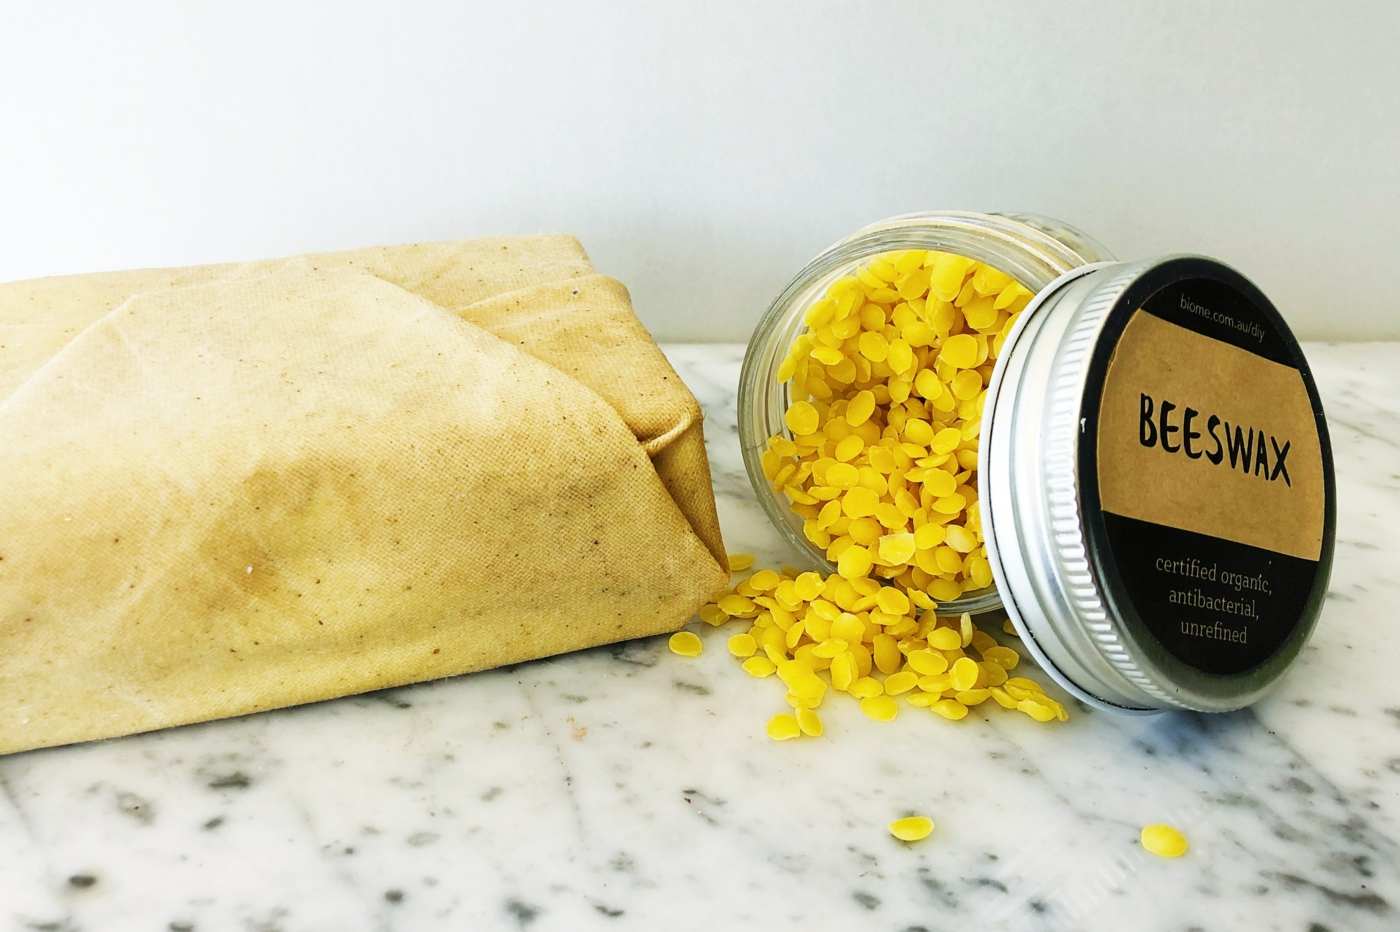
- 2 TL beeswax (grated or in the form of pastilles)
- 2 TL Kiefern resin powder
- 1/2 tsp jojoba oil
Repair 30 x 30 cm beeswax
- 1 EL and 1 TL Beeswax (pasted or in the form of pastilles)
- 1 EL and 1 TL jaw resin powder
- 1 tsp jojoba oil
Make 35 x 35 cm beeswax
- 1 EL and 2 1/2 TL beeswax (grated or in the form of pastilles)
- 1 EL and 2 1/2 TL jaw resin powder
- 2 1/2 tbsp jojoba oil
Beeswax instructions
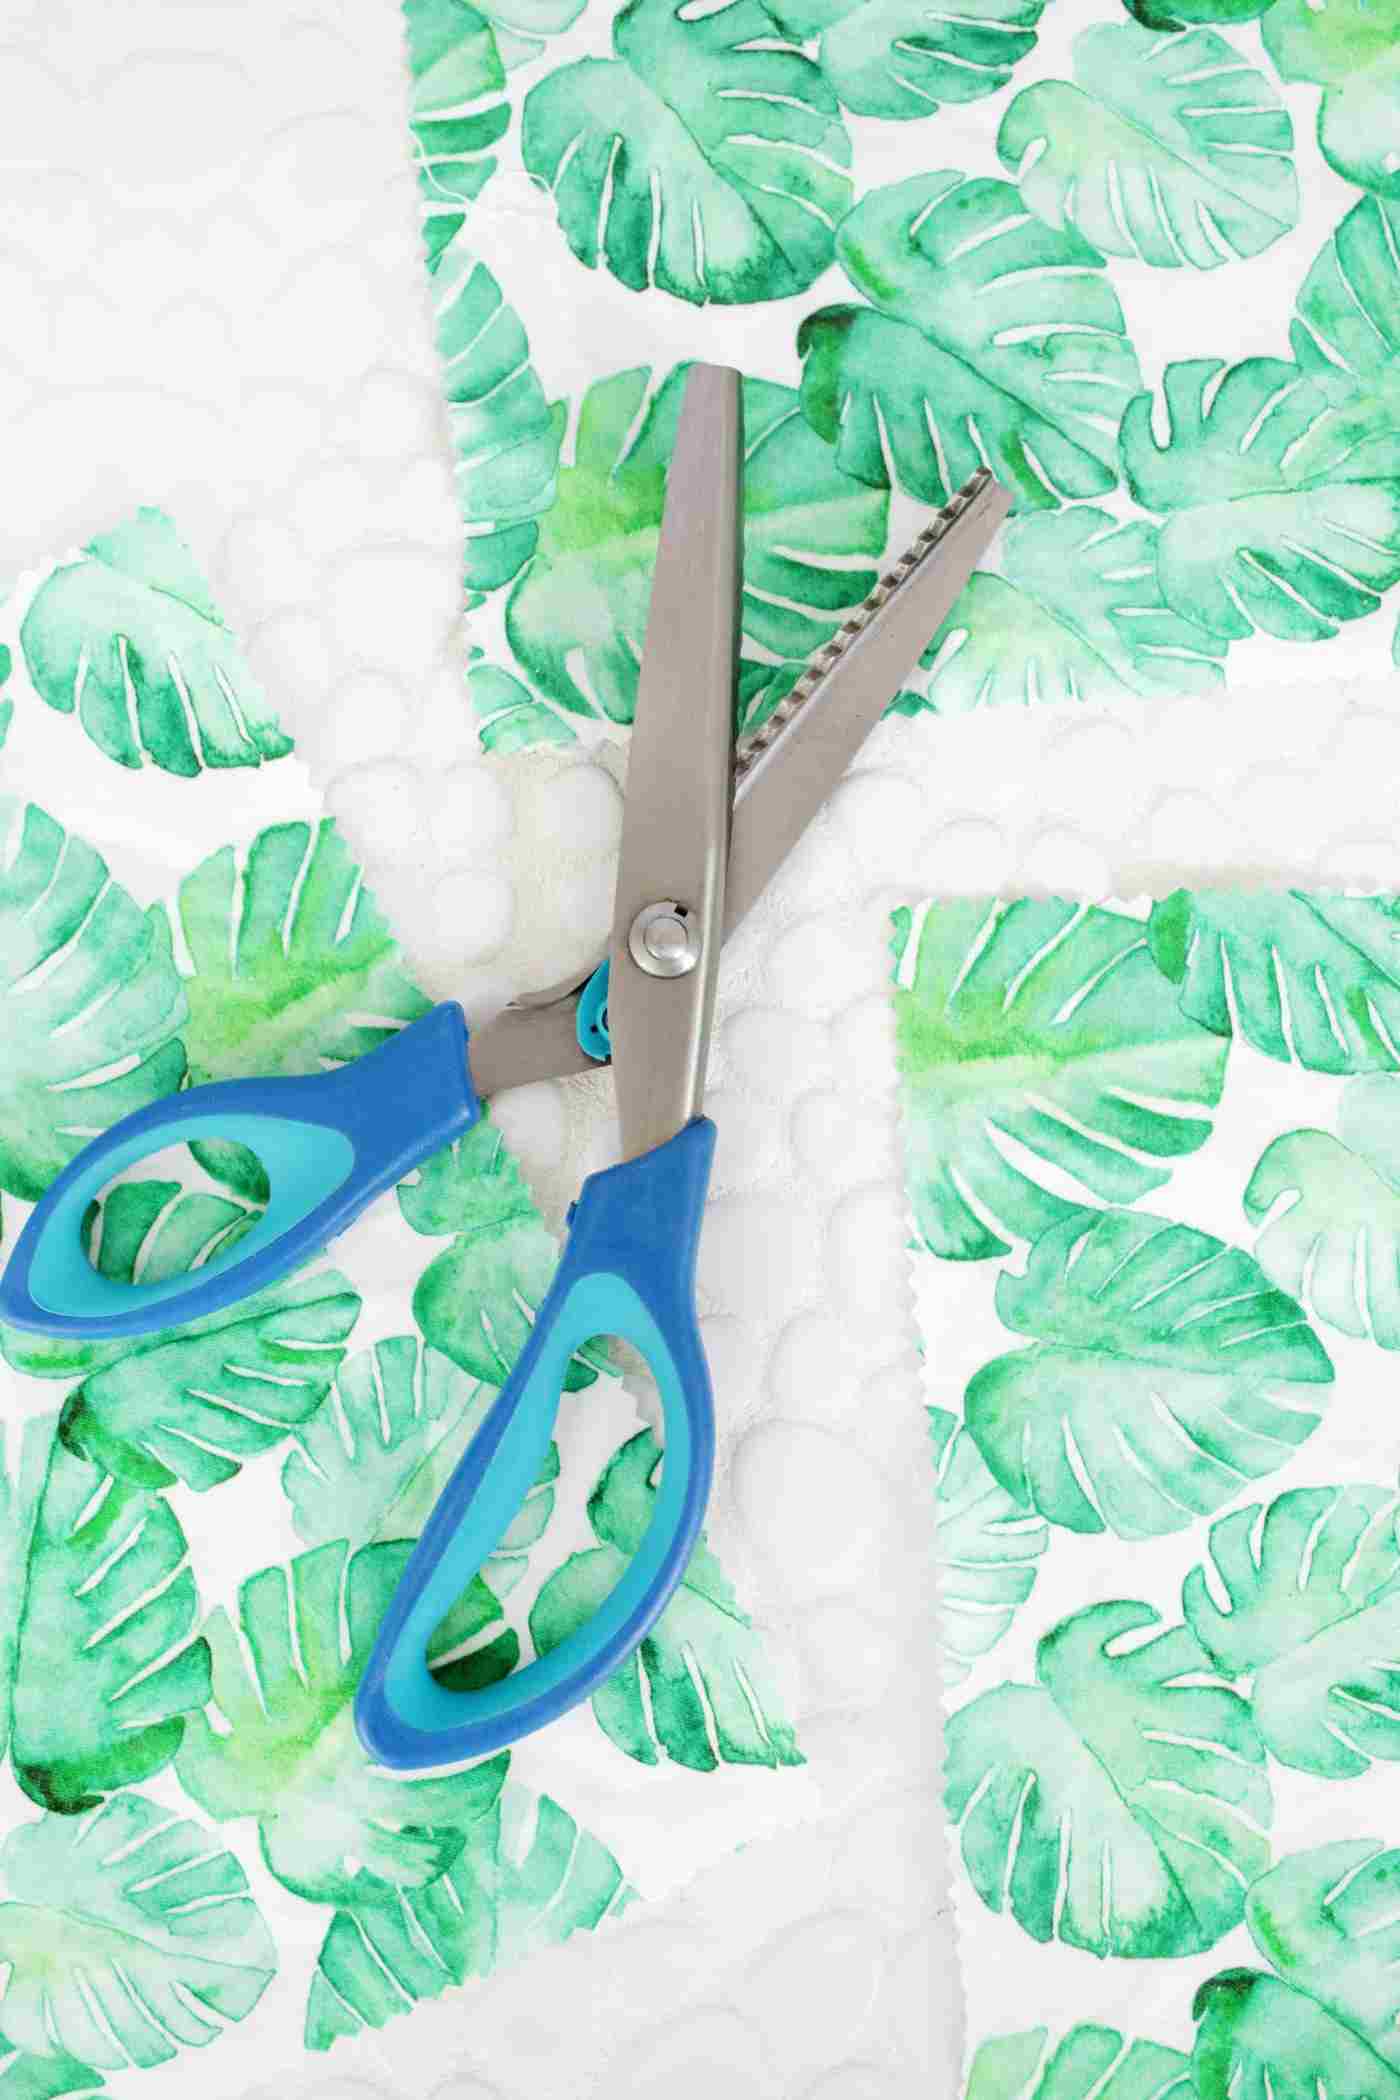
The beeswax grows you here in a few steps. If you want to make the appliances yourself, you first heat the oven with baking sheet at 80 degrees ahead. In the meantime, cut your cloth to the desired size. They can also cut multiple sizes and restore them more than once to a wax. This hot flash allows it to be later, to rest the cloth with the wax, without getting too fast.
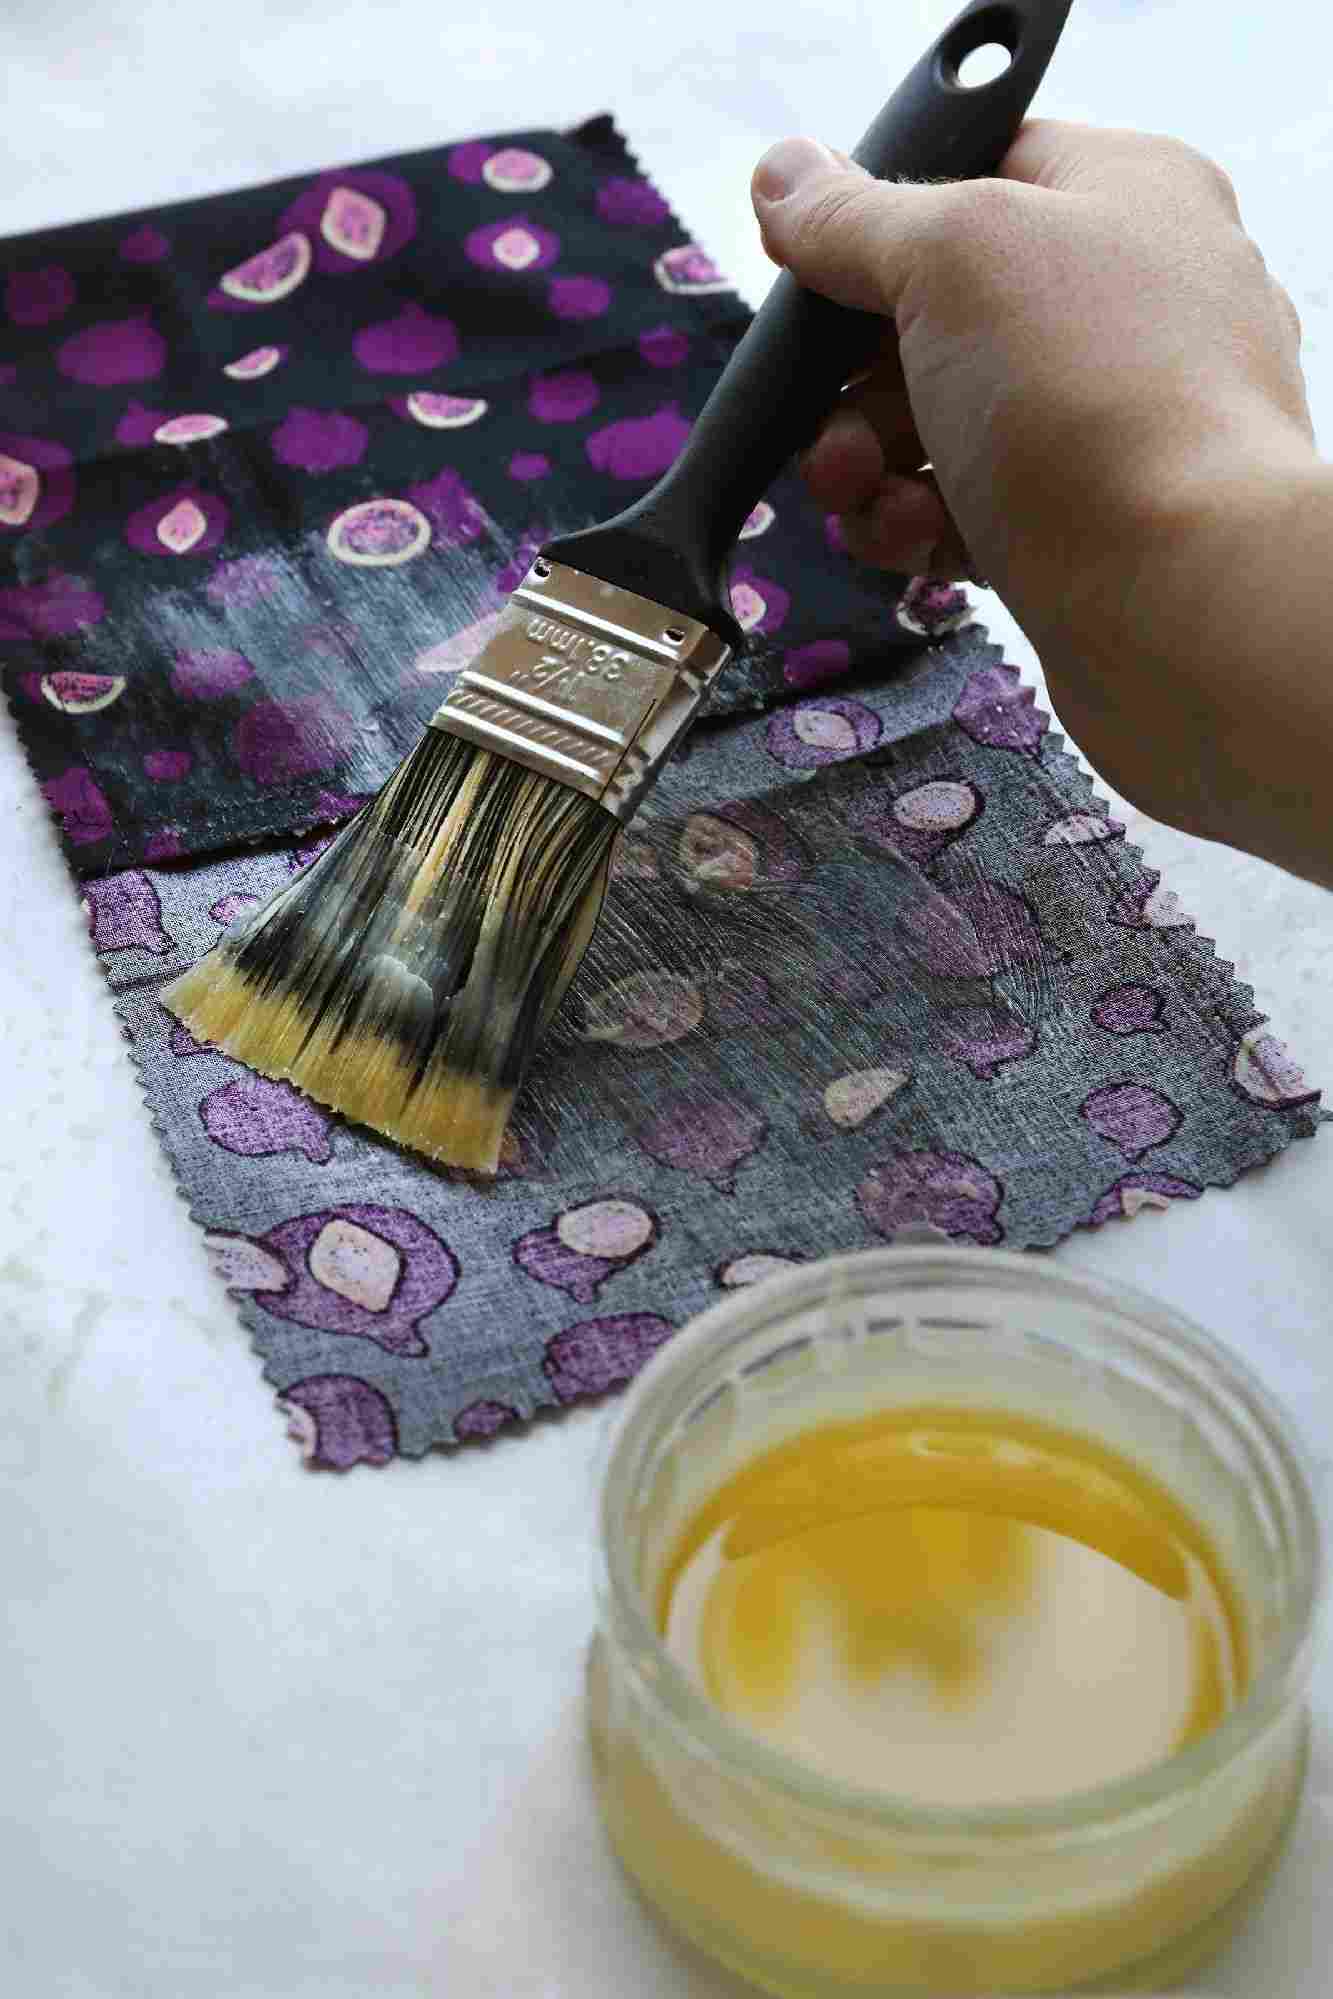
Heat in the water bath at the lower temperature the respective ingredients. Remember that beeswax can take even longer, until it melts. While stirring in regular evenings, stir. When everything is melted and mixed well, take the baking sheet out of the oven, lay it out with the parchment paper and dust it. Now you can absorb and distribute it on the cloth with the paintbrush. Please note that the entire cloth is well covered.
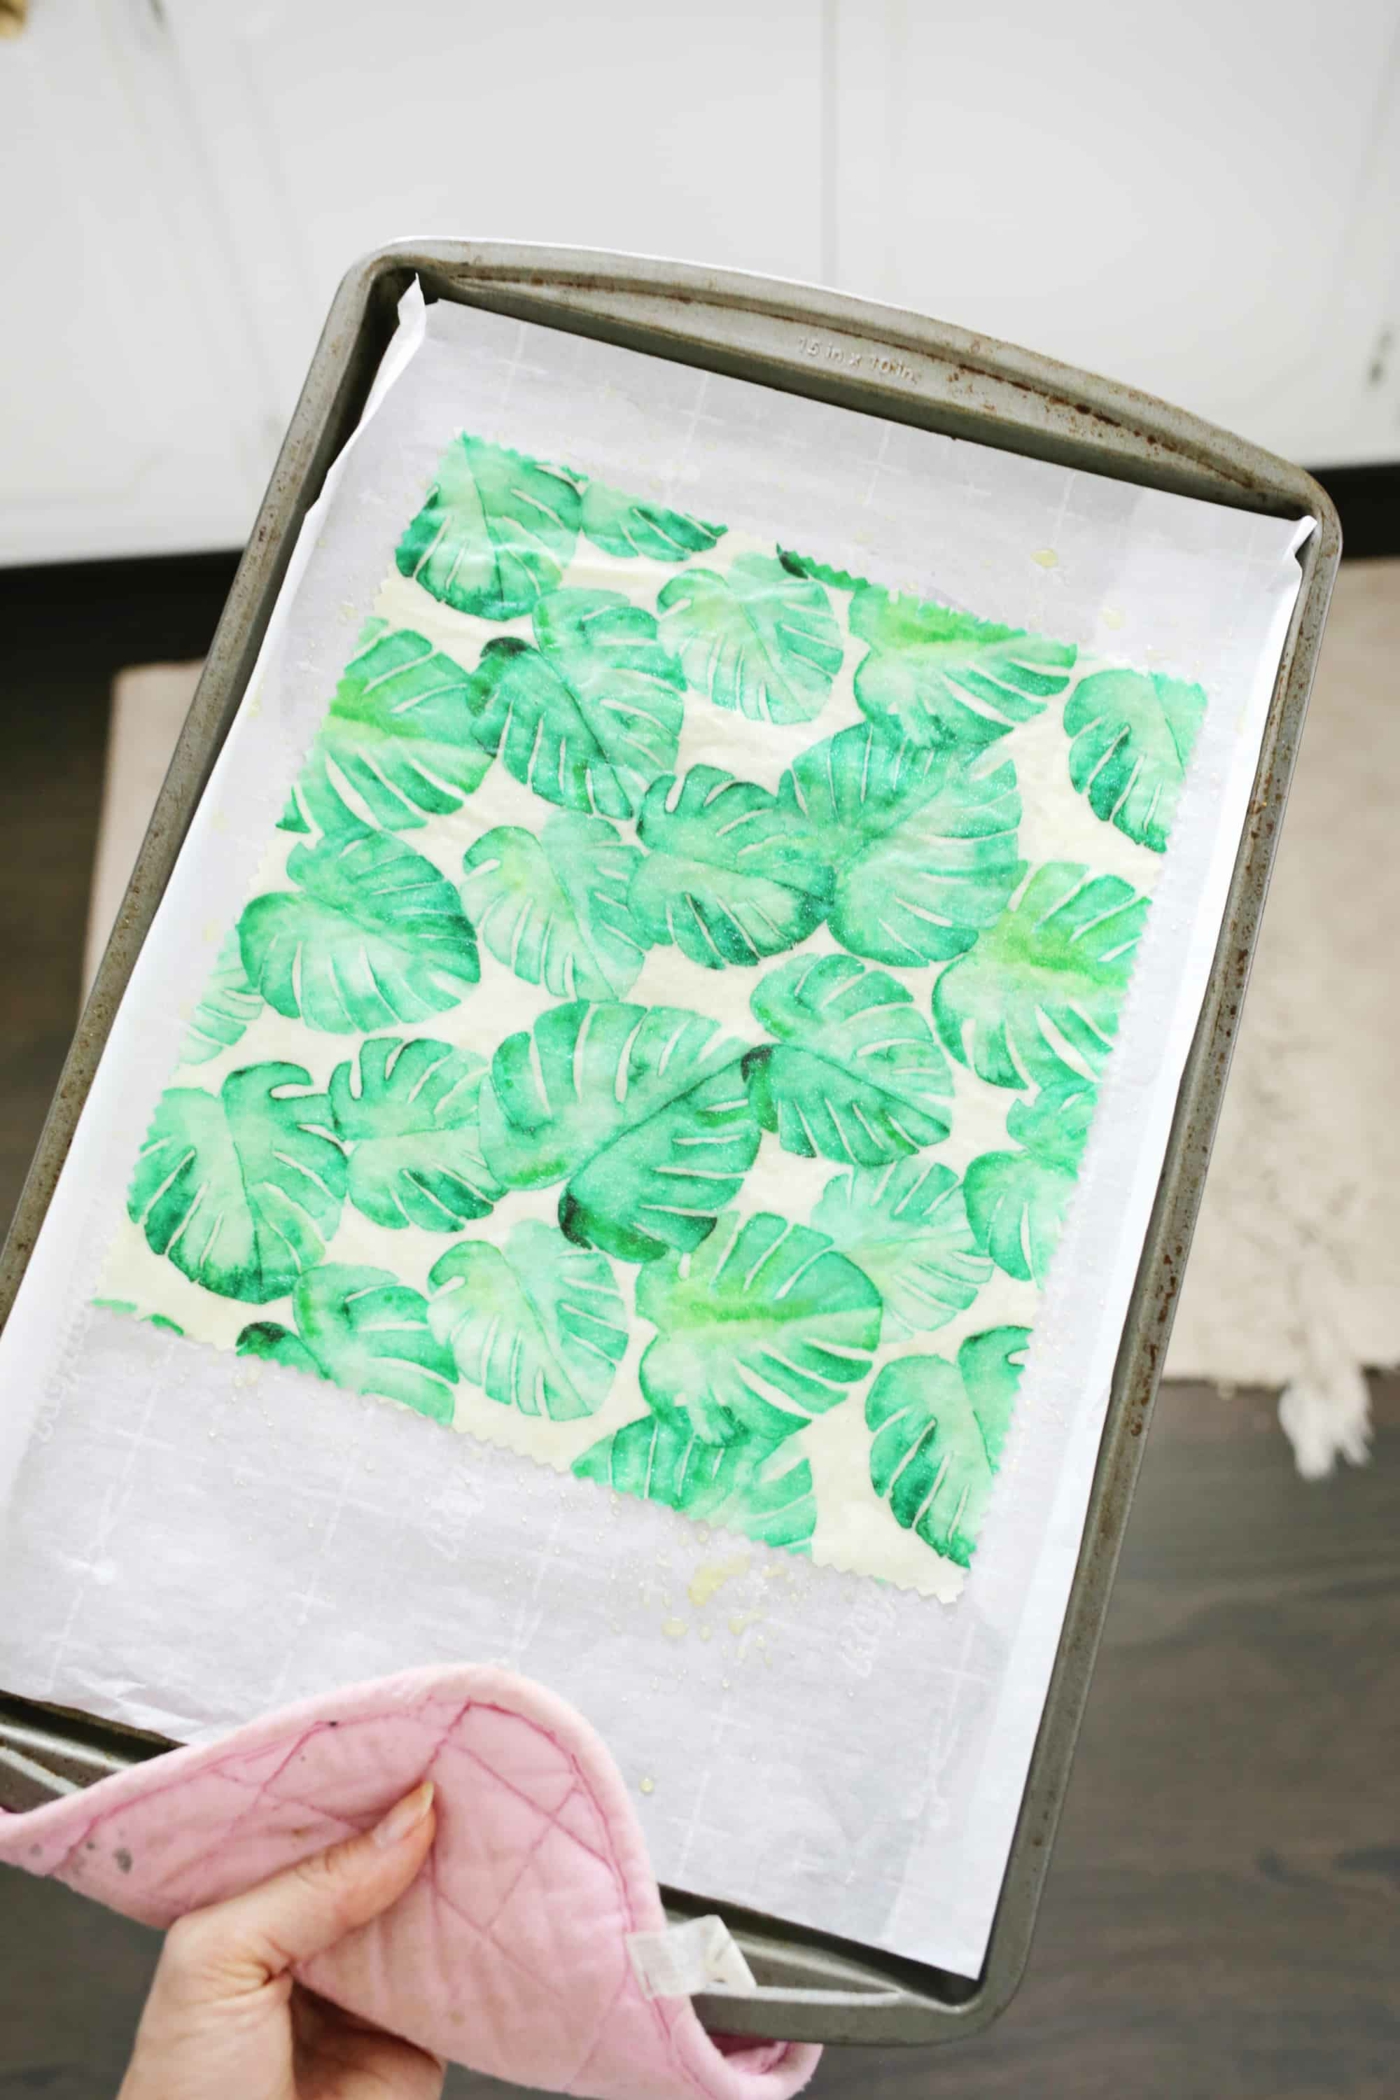
Peel the cloth with baking sheet for about 2 minutes in the oven. The wax should look wet when you take it out. Check again if no dry stands are available. If so, repeat the steps once more. Finally, take the finished wax with the teeth of tin and grow it a little umher, then it will cool down faster. As soon as you can touch it with your hands, without burning it, you hang the cloth with the clothespins on, so it can completely cure. But even on the sheet it can cool. You already made the beeswax yourself! After you make the laundry yourself, it is still very sticky. This is normal and runs very quickly. Yet it is still sufficiently sticky to allow the container to be closed.
Grows themselves are only made from beeswax
If you can only use beeswax, this is also possible. You should warm the oven in the instructions above. Empty the baking sheet with parchment paper and wipe the cloth. Now distribute beeswax pastels there. Even decayed candle remnants could be used. Put everything in the oven and take it out again as soon as the wax is melted. You brush the liquid wax over the cloth with the brush until it is completely soaked. Leave the cloth to cool on the tin or hang it up.
If you can make vats yourself, which are also pleasantly soft, you can also add coconut or other plant oil (other than olive oil or linen oil) to the wax. Then they should both melt and blend the ingredients in the water bath, as before, as in the first instruction. 2 raised essence spoon beeswax were then combined with 1 teaspoon of oil.
Recovering vegan sausage
Of course, the DIY project can also be carried out vegan. Then, instead of using beeswax, you simply use a plant growth. Sunflower wax, rapeseed wax and soy wax are particularly well suited for this purpose. All waxes also show a different melting temperature. Especially sunflower wax will be needed for longer. It is recommended to preheat the oven to 100 degrees. Rapeseed wax resembles beeswax.
Wash the washcloth
Do you actually have to make a car wash yourself, imagine the complexity behind it? This makes the maintenance of your growth extremely easy! You should note that it should in no case be washed with warm or hot water, then melt and wash the wax again. Instead, use cold water, or mild soapy water. Then simply let the cloth dry in the air.
Bees self-repair and store food
The post How to make growers yourself with beeswax or in vegan ways - Simple instructions appeared first on Deavita.com | Home ideas, design, hairstyles, makeup, lifestyle, health and beauty tips.


