Rubbelkarte self-make to various applications - 2 instructions & ideas for use
Homemade Rubber Cards are available there Hit time and can be used for many purposes. If you believe that it is definitely a complicated thing to create a Rubber Card, you are lying completely wrong. Not only was it made in few steps. It even offers various possibilities that you can try out. While preferring one acrylic paint, others use nail polish that every lady at home has. What other materials do you need, if you can make your own rubber card yourself, instructions, and some ideas, how to use these DIY DIY cards, we will tell you the following.
Make Rubber Cards for Your Own - Ideas for Use
- Lose the Bastel: Everybody knows Rubber Cards in the form of Losen. Speaking is a lot for a party just for the right reason, if you can make custom cards yourself. Whether for a fun summer party, a fun kids party, for Halloween, for the fascination or for a birthday, if you make such a lot yourself, many different party games can be played that are guaranteed to be fun. And about those winnings, all of them were all right. Don't forget to make a few rivets, though, if you make each Rubeless yourself.
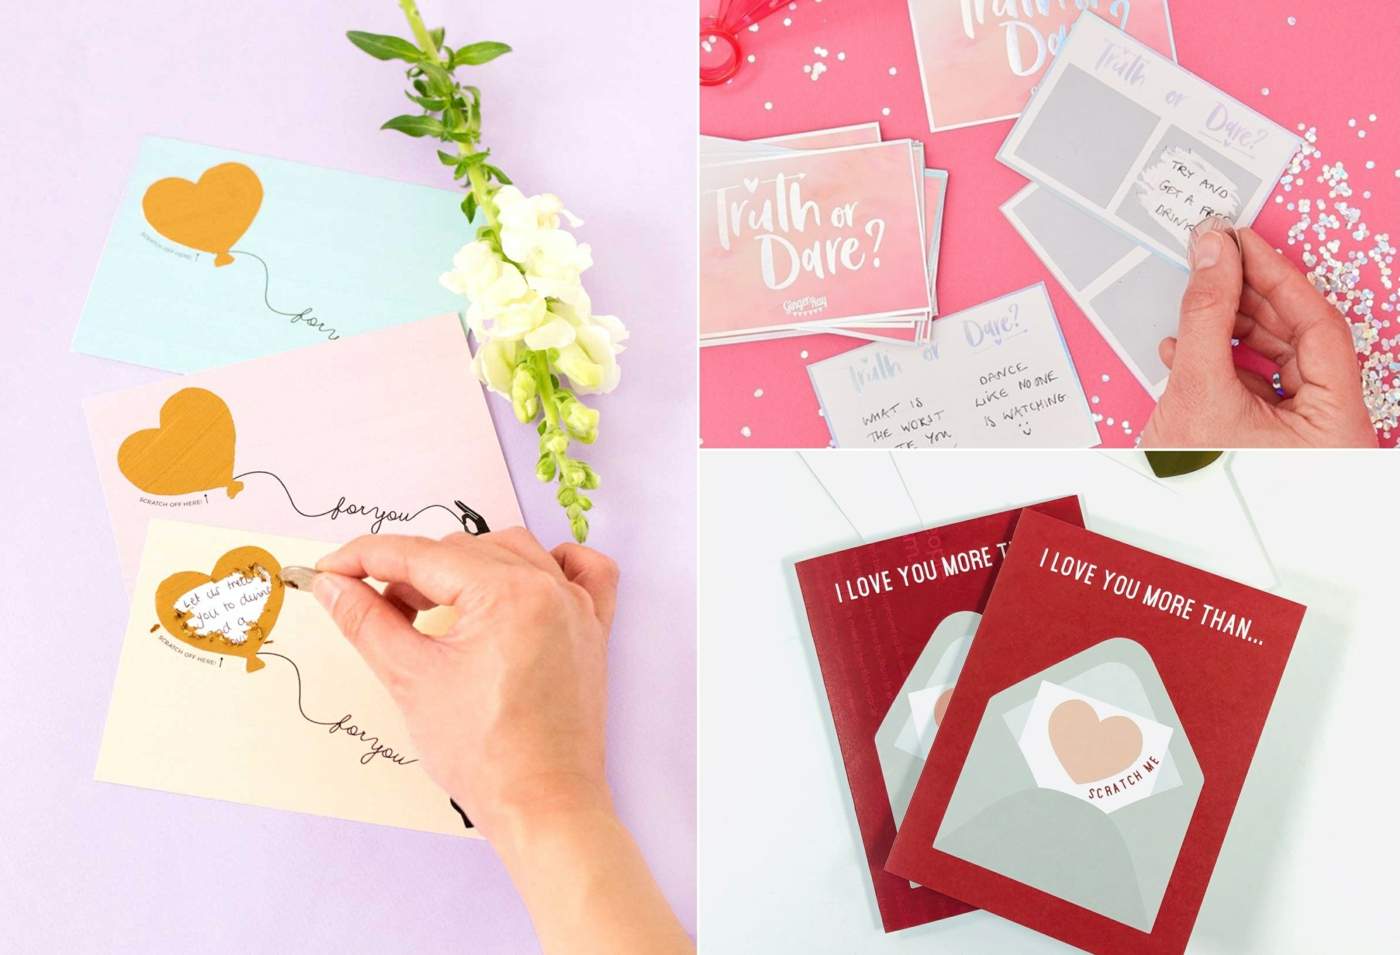
- Rubbelkarten zur Wedding: The Ruble Card for the wedding will be used especially if the wedding ceremony or the bride-to-be is to be made an "entry". So if you are able to ask your brother, best friend or other person for this honor in a special way, you can make a Rubber Card for the wedding week. But even the actual marriage between two loved ones can be carried out in this way. Just let yourself fall for a good reason, which is why your girlfriend should mess up and the surprise there is the question "Do you want to marry me?".
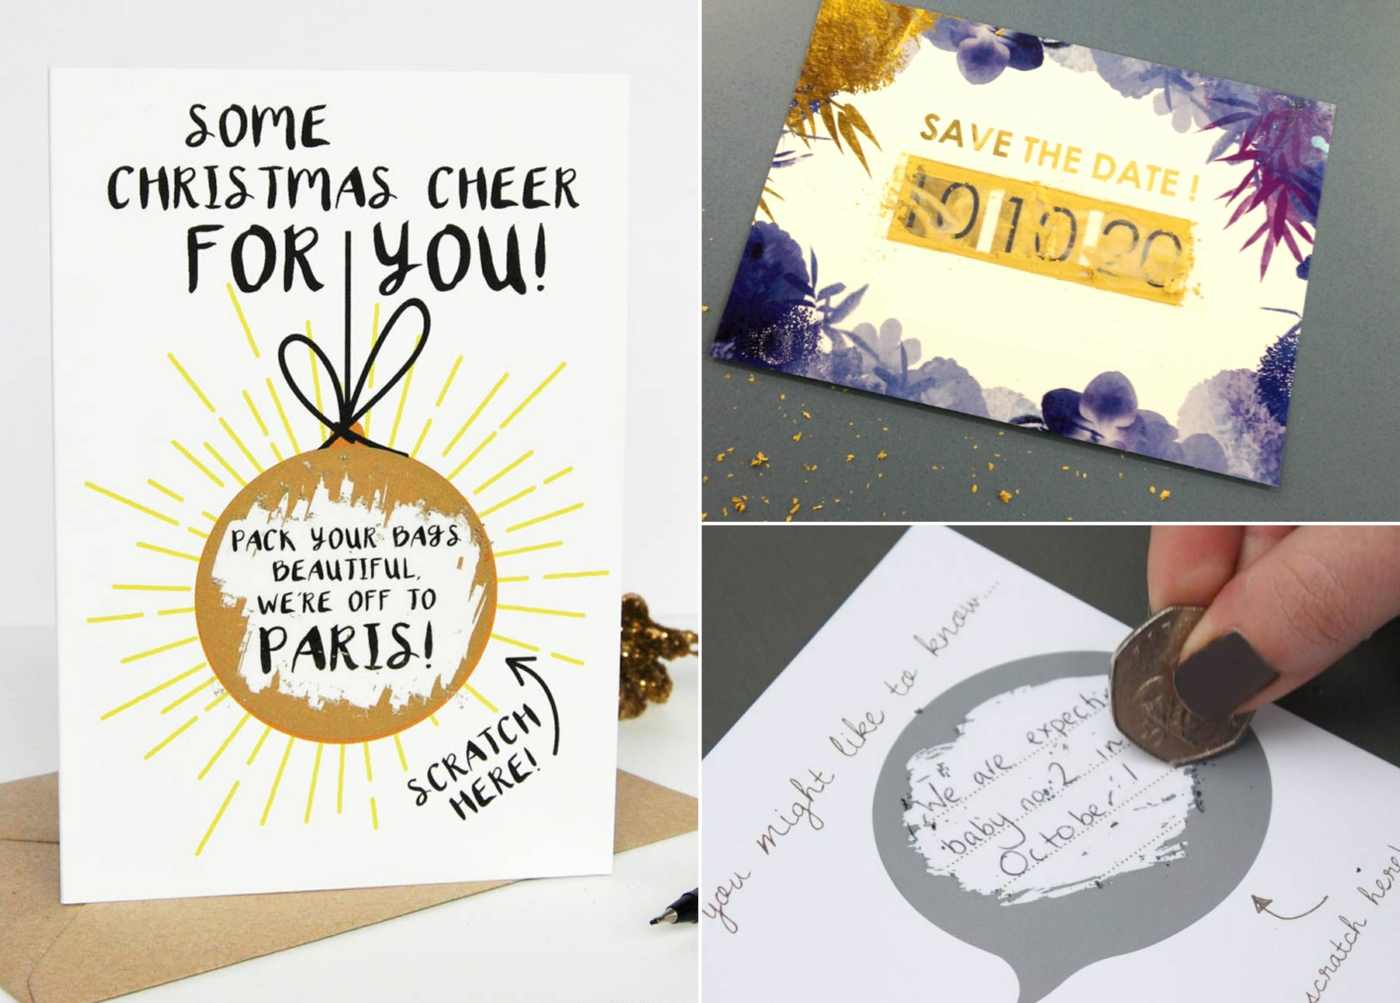
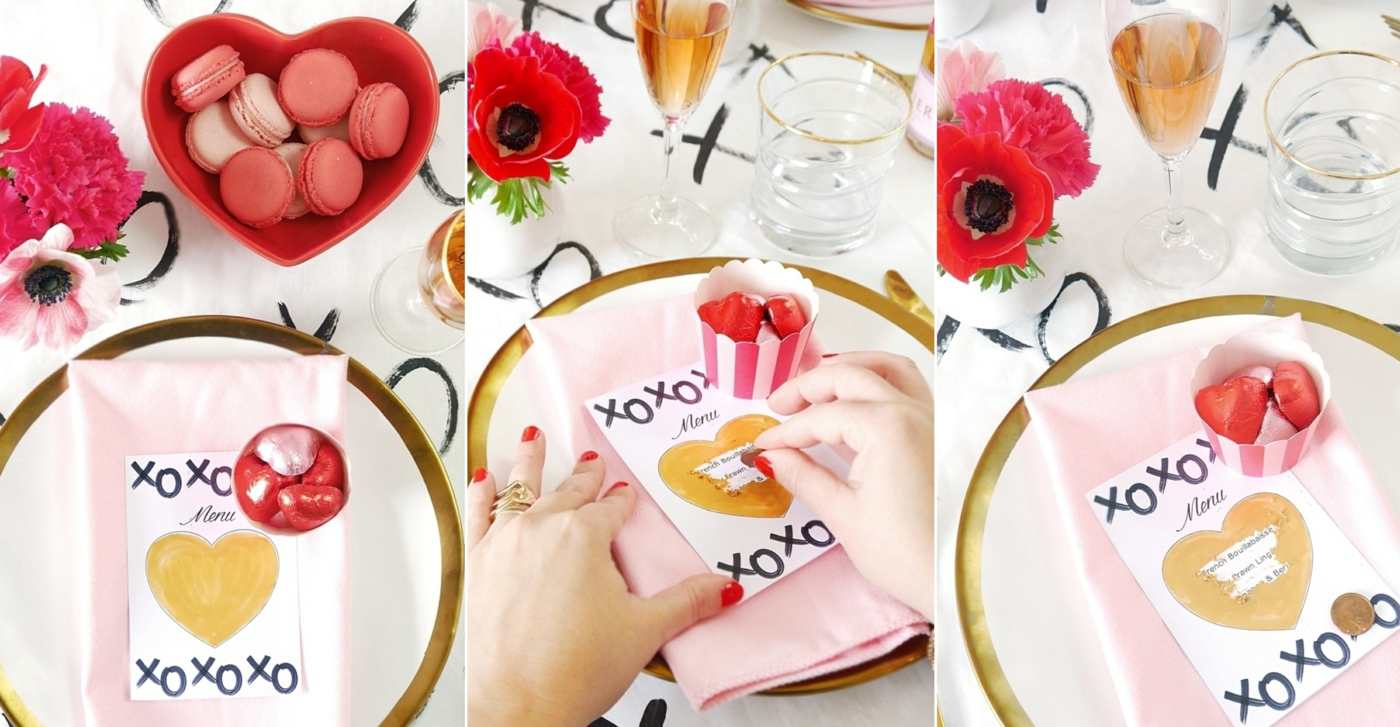
Further Ideas: Wedding menu for all guests to rubble; Thank you cards for guest gifts; Save-the-Date-Karten
- Rubbelkarte zur Pregnancy: Many nowadays organize a party to announce sex, even (and above all) that parents still do not know. They can also make a Ruble card yourself at this Anlass. But even at a classic baby party they are a welcome thing. Then games could be re-organized before they could make themselves clumsy.
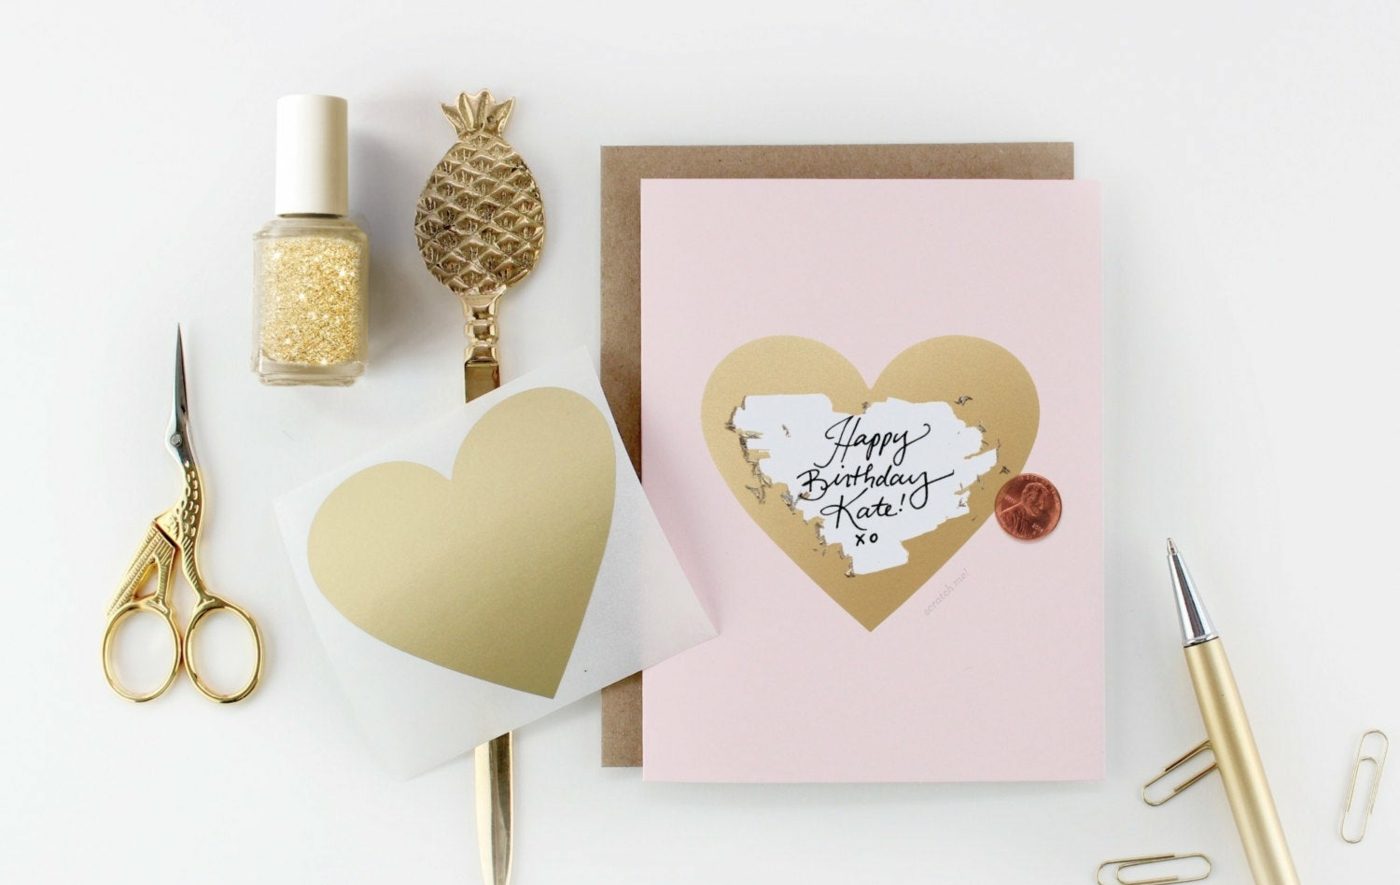
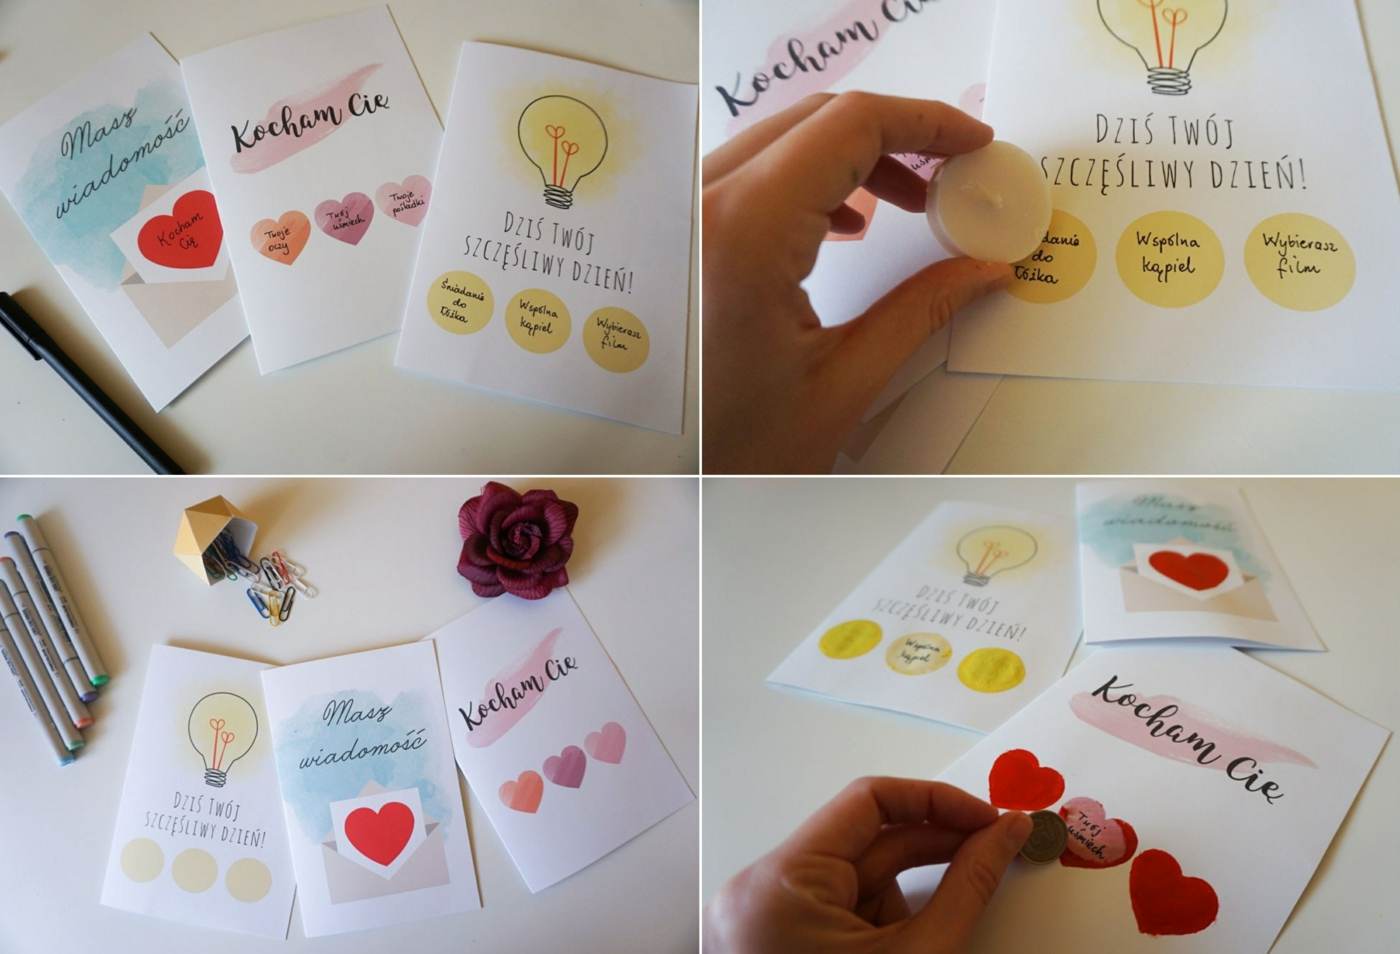
- Grußkarte: Create a beautiful Valentine's Day card and add a beloved message that still has to be released or create a Christmas card, Easter card, greeting card for a birthday, a card for baptism, closing, unschooling, anniversary etc.
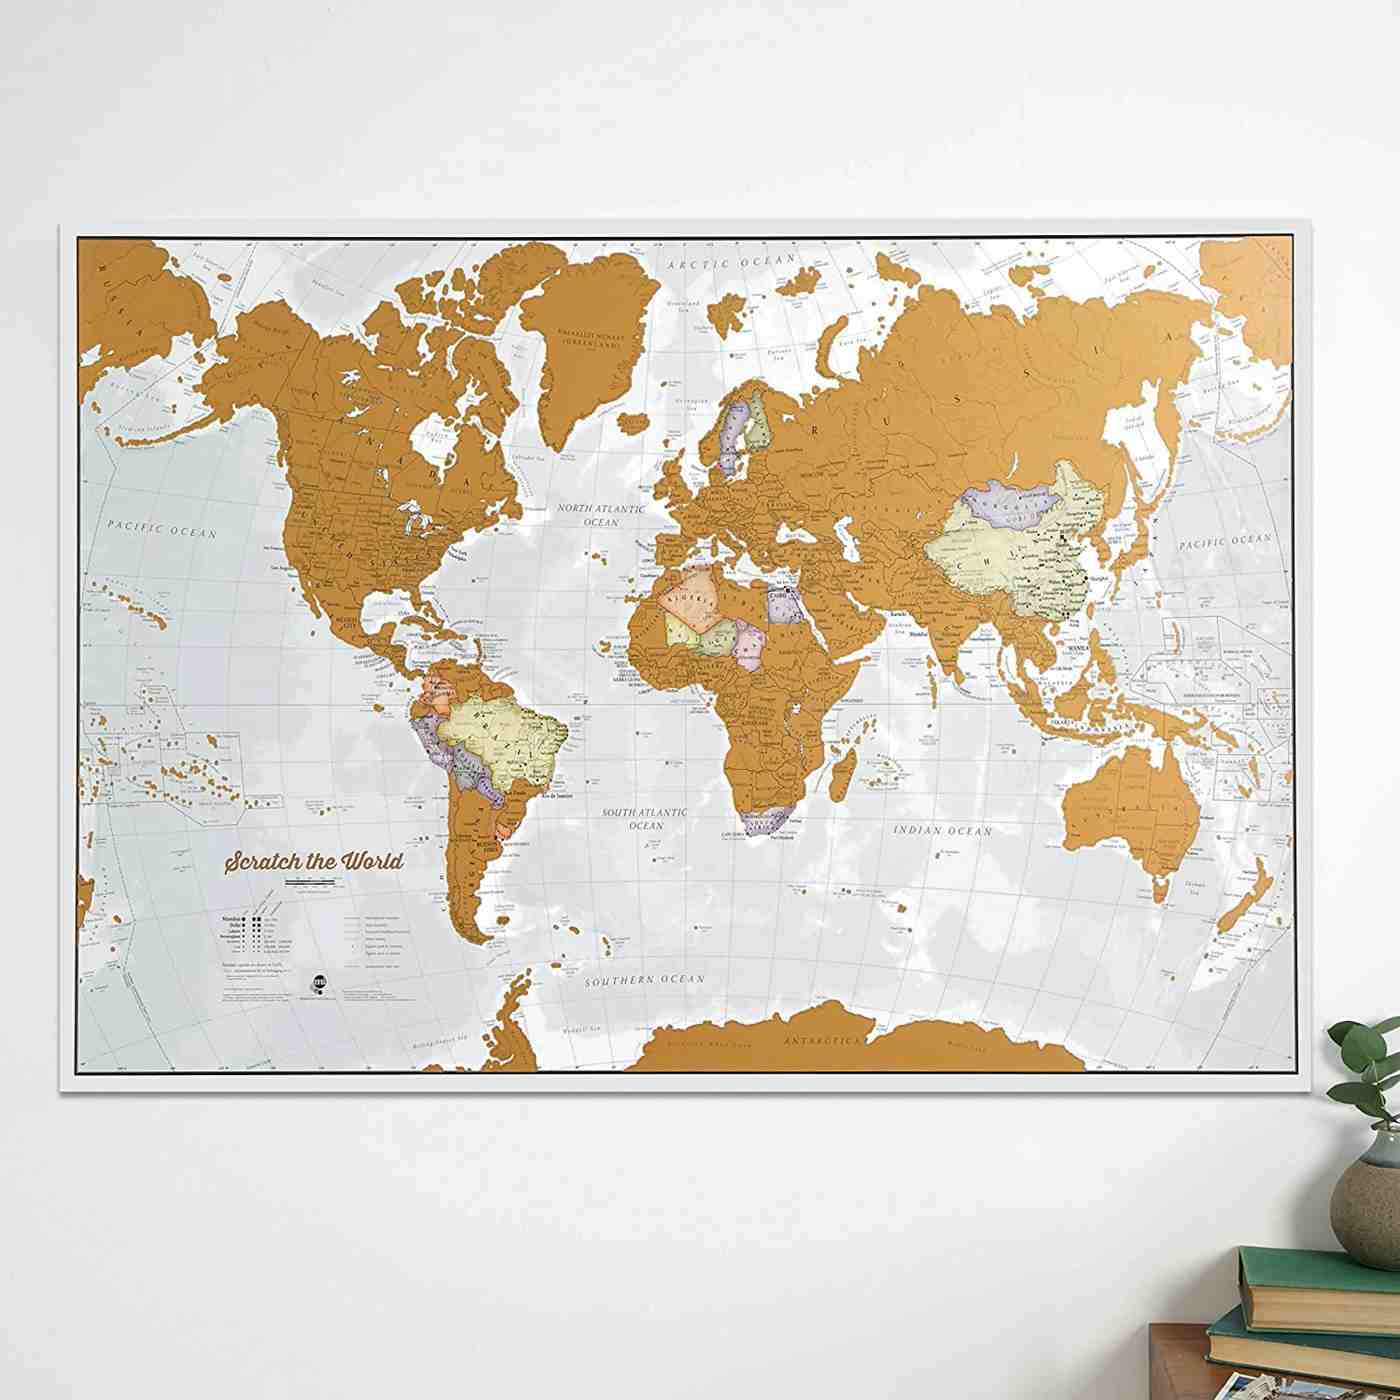
- World Map for Travel Lovers: Map of the world to freelancing all visited countries or a religious country with sightings to rubble
- Loading charge cards: Important information on the self-loading, which date, time and place can be hidden behind a layer of rubble. This idea, for which you can make a Rubber Card yourself, possesses for every kind of party.
Rubber cards themselves are made without acrylic and with nail polish
- designing cards (e.g., for a request or for Lose)
- Schere
- one candle (wax) or white wax paint
- Nail polish in silver, gold, copper or any other metallic tone (best matte)
First, prepare a believable card to be turned into a rubbish card or a lot. If you can make a Rubber Card yourself, you can print it yourself or design it yourself. Now take the candle or wax paint and rub with the wax the entire area that you can cover and that should be released later. Take care of it carefully and leave no marks. Finally, paint the same area with the nail polish.
Use a good covering nail polish, you just need to apply a thin layer and in no case paint a second paint, as the result in contrast to the nail polish on your fingernails is not covered, but clumsy and uneven. A second and perhaps even third layer of paint will be said but probably most likely. In this case, if you want to dry the first layer, you will have to carry the second one.
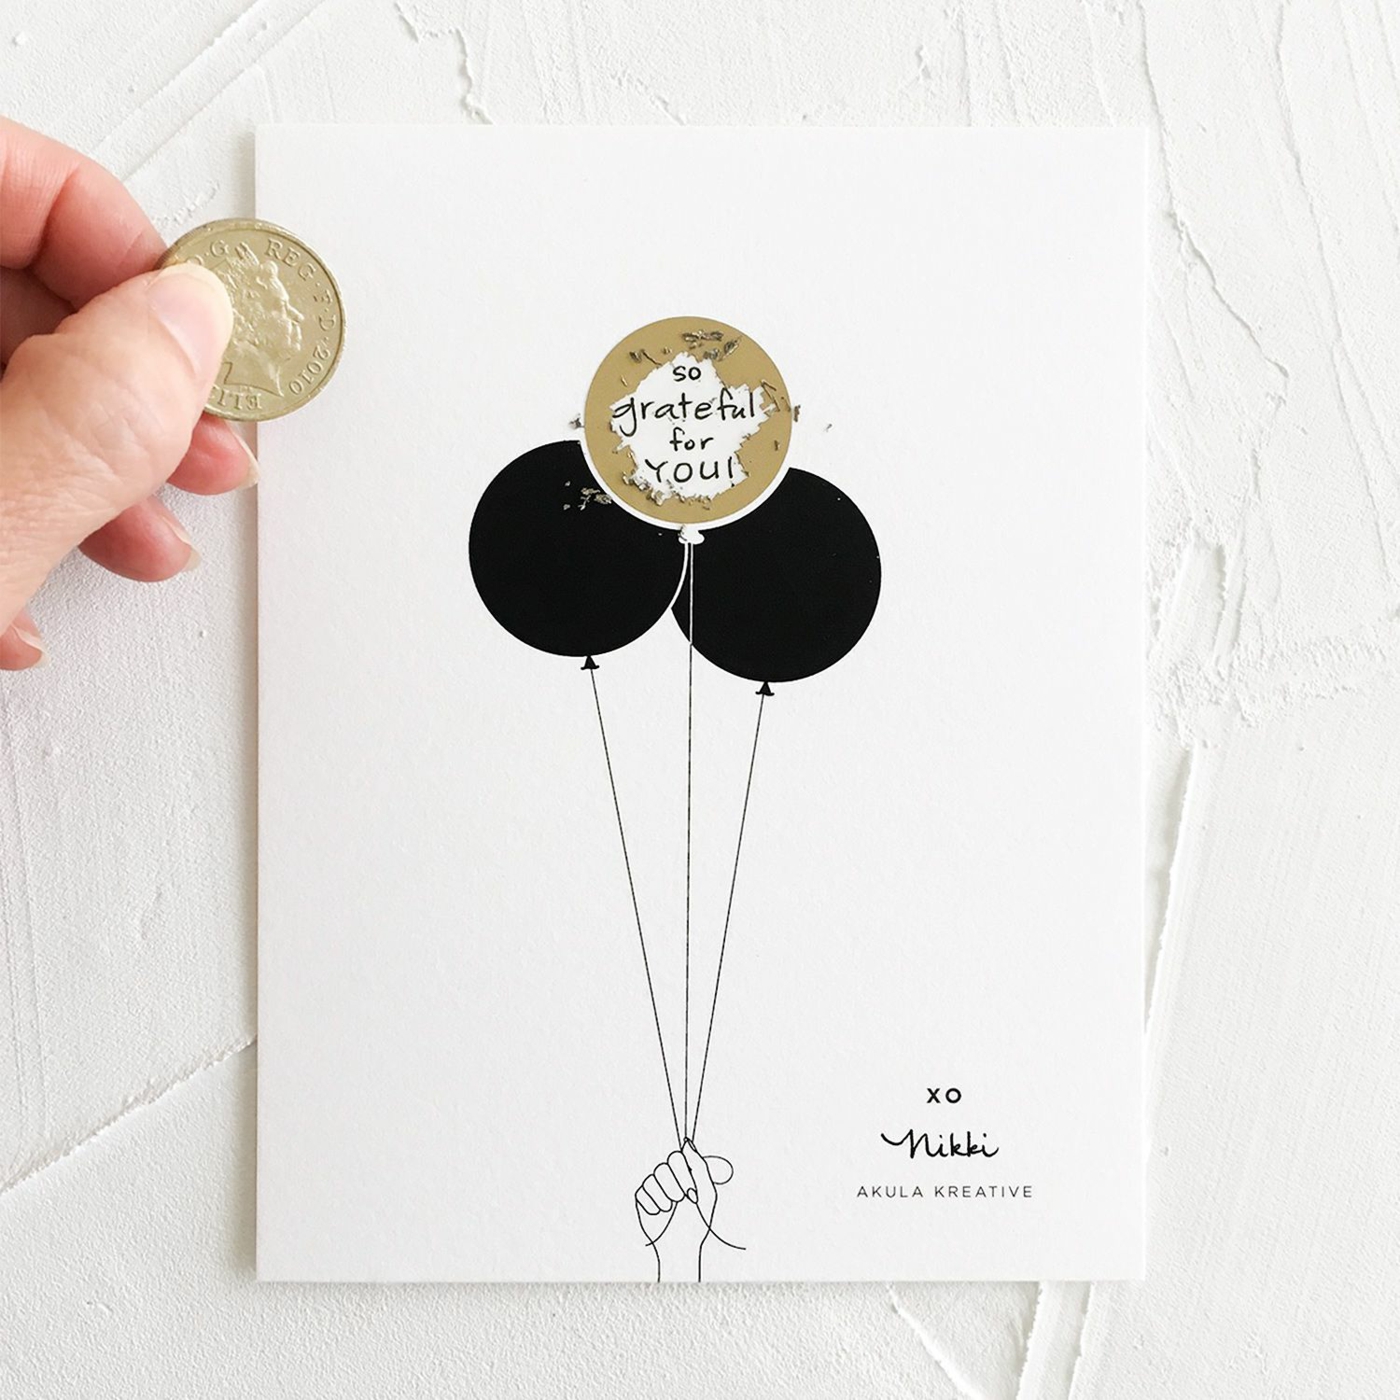
TIPP: After you make the Rubber Card yourself, you stick with a 1-cent piece of adhesive strips in one of your favorite places and the finished card can be rubbed off even after the gift.
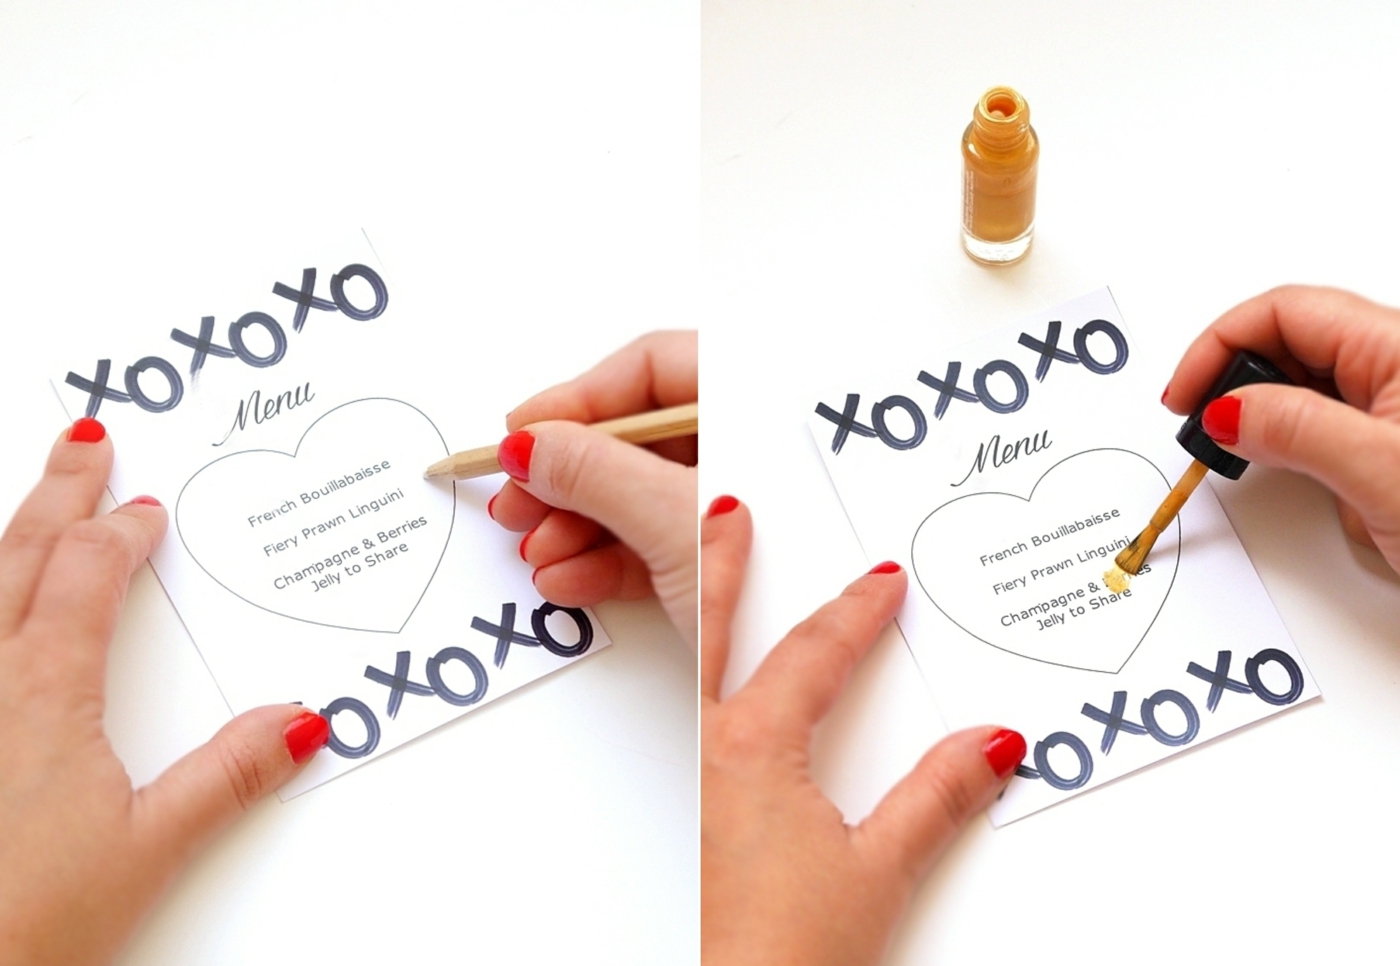
Rubber cards themselves with acrylic paint and detergent
- Acrylic paint in any color (e.g. Gold, Silver, Copper)
- Spülmittel
- transparent adhesive tape or wide, transparent adhesive tape
- Brush (best foam brush to avoid streaks)
- Writing train / message on paper
Prepare the message (or map) before you make the Rubber Card yourself. These can still be printed or printed by hand. On the sets that should be released later, then stick the transparent foil. In a suitable container, mix the detergent with the acrylic paint in a ratio of 1: 2. While you both stir up each other, you say cautiously, no matter if, or at least possible, few air bubbles arise.
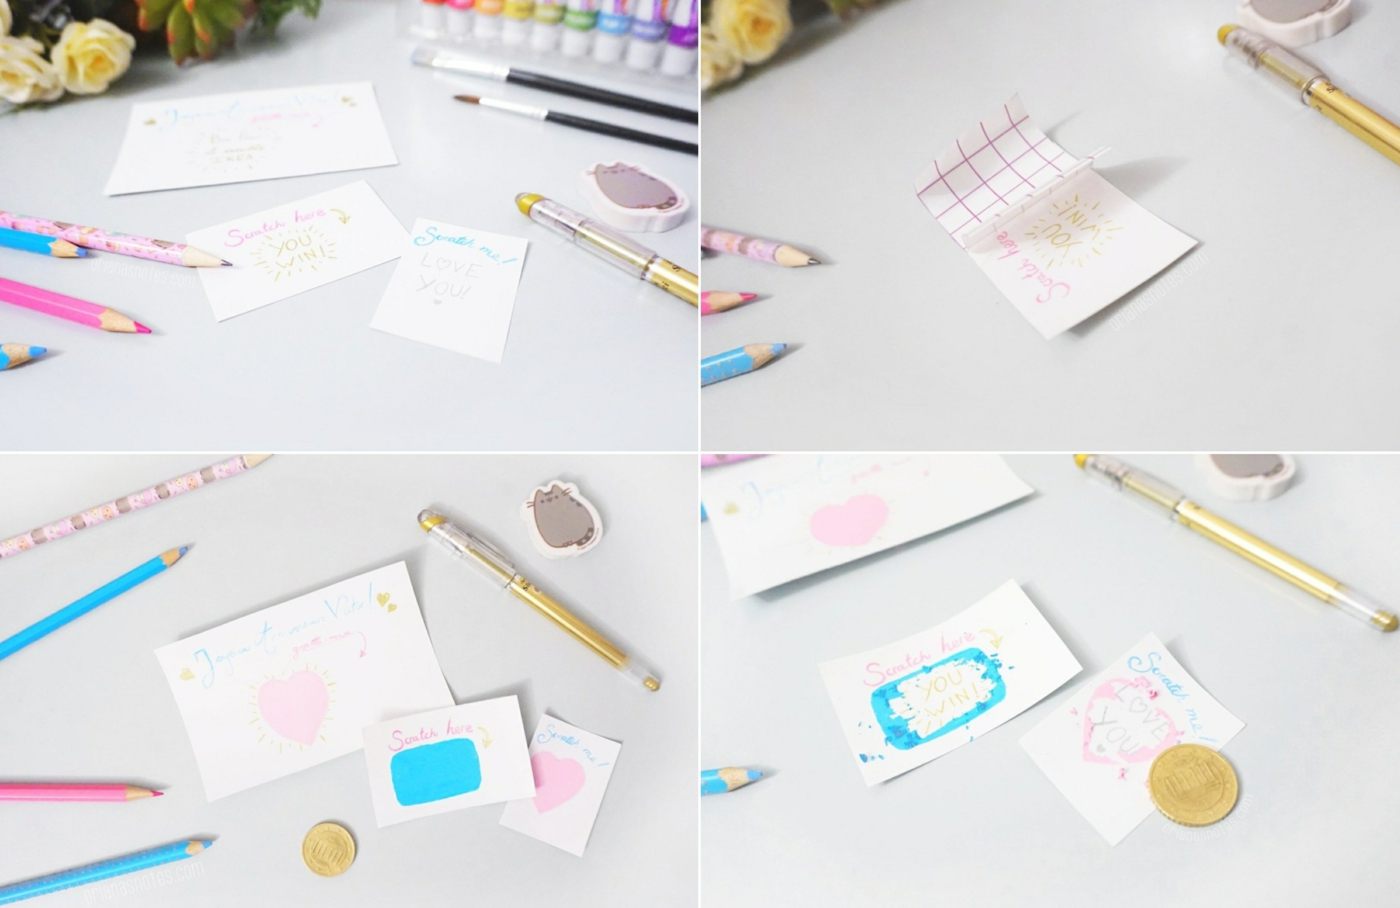
Multiple layers are also needed during nail polish. Once you have finished drying each layer, you will need to wear the next one. As soon as your message can't be seen anymore, you're done. You can then let that map go even longer. In this way, you can now make many random cards yourself.
The post Rubbelkarte selber to various readings - 2 instructions & ideas for use appeared first on Deavita.com | Home ideas, design, hairstyles, makeup, lifestyle, health and beauty tips.


