Tie dye nails are the last hit of the year – 20+ ideas and inspirations!
The cold, dark and bleak winter days are finally behind us and spring is slowly coming. That means it's time to put away your winter coats and sweaters. And while you're at it, you might want to put away the dark nail polishes too. The search on the Pinterest platform for inspiration for tie dye nails has increased by a full 144% this year and it is not difficult to understand why. The nail trend from the 90s is making a big comeback and is cooler than ever. If you want to give your look a fresh, lively touch, then you've come to the right place! In this article, we will show you how you can easily make tie dye nails yourself and have put together the most beautiful nail designs!
Stars and fashion icons like Kylie Jenner and Gigi Hadid have brought the long-forgotten Tie Dye Nails trend back to life. The style combines all possible color mixes to create a beautiful and eye-catching look. The best thing about the nail design is that it is incredibly diverse and can be wonderfully adapted to any outfit and look. Whether colorful rainbow or rather simple and elegant in soft pastel shades – everything is included!
Make tie dye nails yourself – simple step by step instructions
Just like with most nail designs, it's probably a lot easier to make an appointment at the nail salon to get the look. But with a little patience and skill, you will be surprised at how easy it is to make tie dye nails yourself. However, a little caution is required when choosing colors. Shades such as blue and orange are rather unsuitable because they can cause the remaining colors to turn slightly brown. You are always in good hands with bright neon colors or pastel shades. Here's how easy it is:
Required materials:
- White nail polish
- Different nail polish colors of your choice
- A fine brush or in an emergency – toothpick
- Top coat nail polish
Make tie dye nails yourself:
- First prepare the nails and apply a layer of base coat and let it dry.
- To have a consistent foundation, apply two coats of white nail polish.
- After the white nail polish is completely dry, drip one drop at a time from the selected colors.
- In order for the nail polish not to harden, you have to be a little faster in this step. Pull the brush or toothpick through the nail polishes and color in shapes and patterns of your choice.
- Finally, apply a thin layer of base coat, let it dry and you're done!
Different techniques are available to create the look at home
If you are not so clever and do not have steady hands with which to draw delicate patterns, then we have good news for you! Fortunately, you don't have to be an artist for the next technique, also known as Water Marble Nails. All you need is a bowl of water, tape and nail polish in your choice of colors! And this is how it is done:
Required materials:
- Base coat
- White nail polish
- A small bowl
- Adhesive tape or washi tape
- Nail polishes of your choice
- nail polish remover
- Top coat
Step by step instructions
- First, fill the bowl with water, making sure that it is neither too cold nor too warm. It works best with room temperature.
- Apply a coat of base coat, let it dry and then paint the nails with the white nail polish.
- Now tape the fingers with the adhesive tape so that the nails are exposed. Alternatively, you can apply a generous amount of hand cream to your hands, but the nail must remain fat-free.
- This step must be carried out quickly so that the nail polish does not harden in the water. Gradually drizzle the nail polishes into the water in the desired order.
- Then use the toothpick to draw the desired pattern into the nail polish – there are no limits to your imagination.
- Dip the nail in the water and remove the excess nail polish with a toothpick. Let it dry briefly in the water.
- Finally, carefully remove the tape and clean your fingers with the nail polish remover.
- Allow to dry completely and apply a layer of top coat.
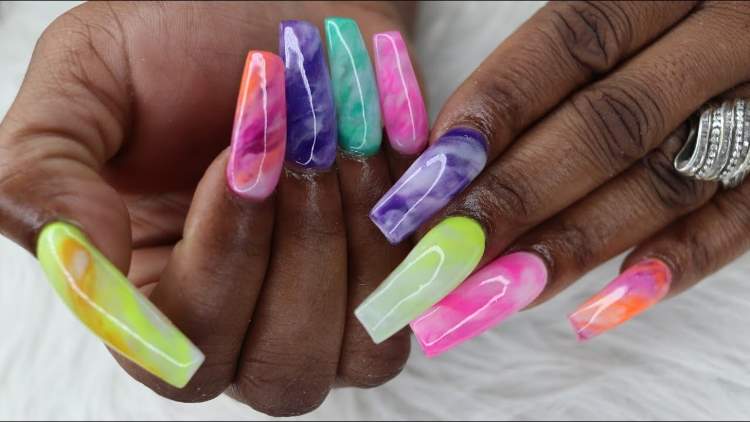
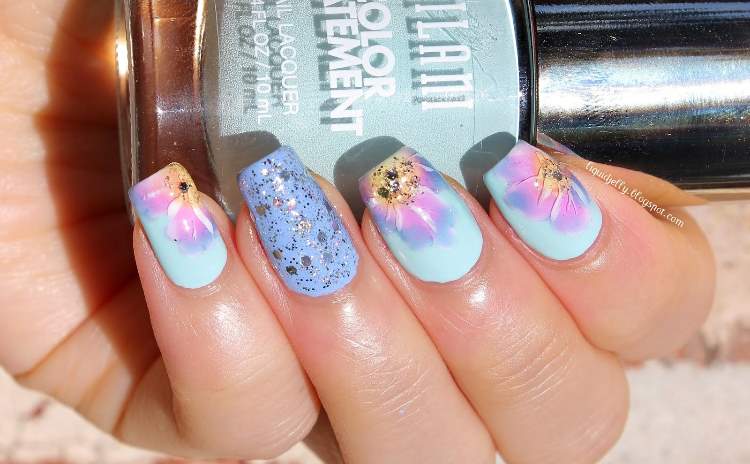
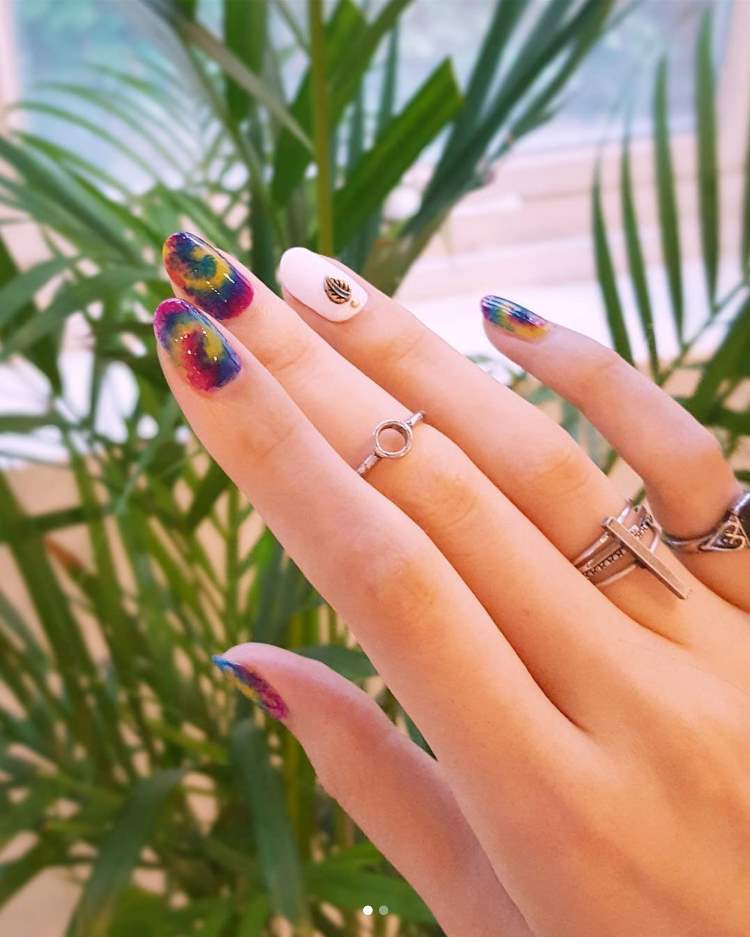
Tie Dye Nails: More beautiful looks to imitate
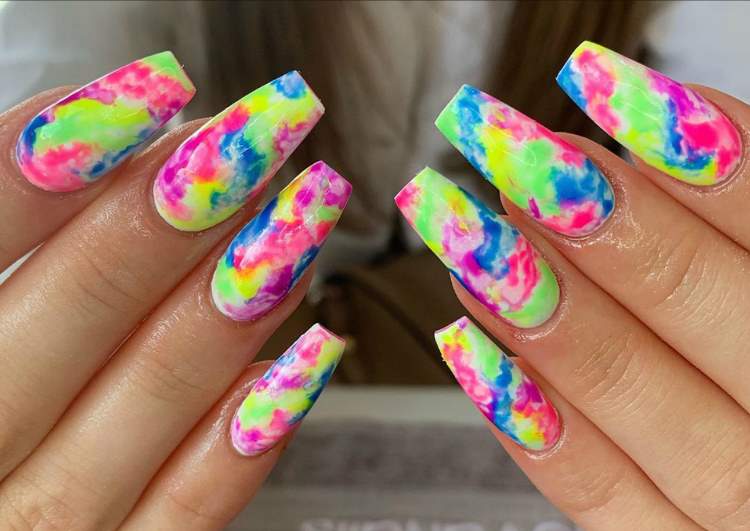
With the colorful nail trend, the good mood is simply inevitable
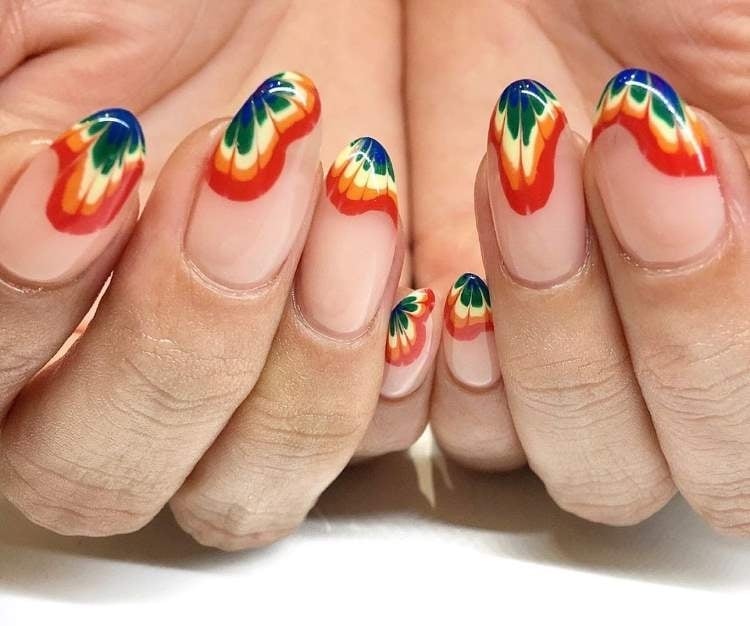
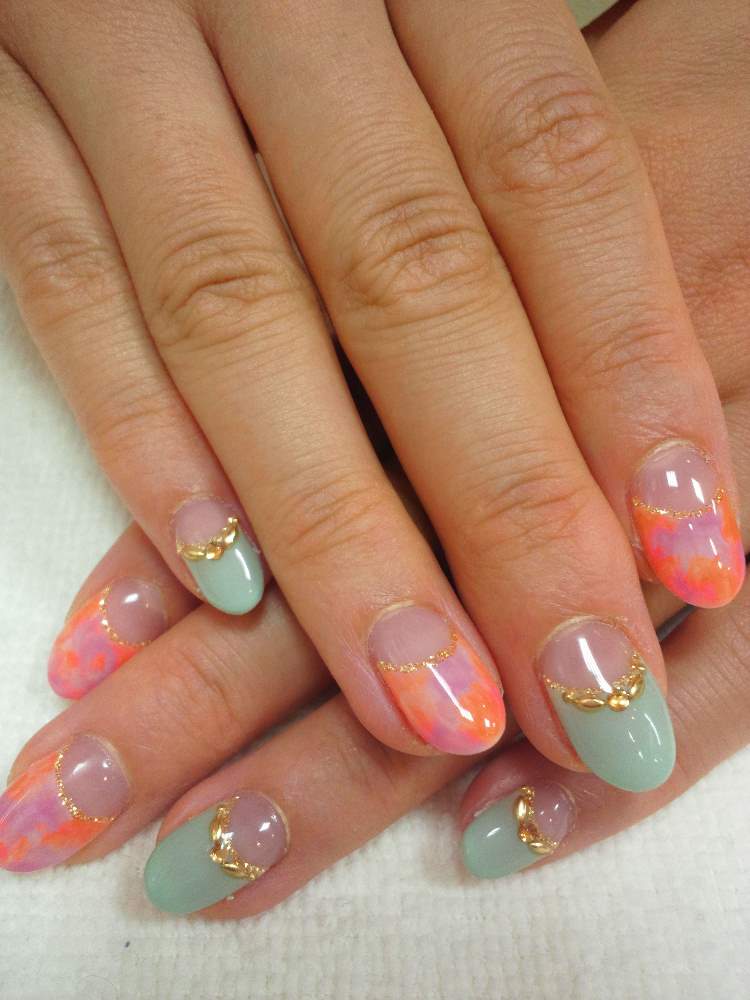
Give the classic French Nails look a playful refreshment by swapping the white nail tips for colorful tie dye patterns.
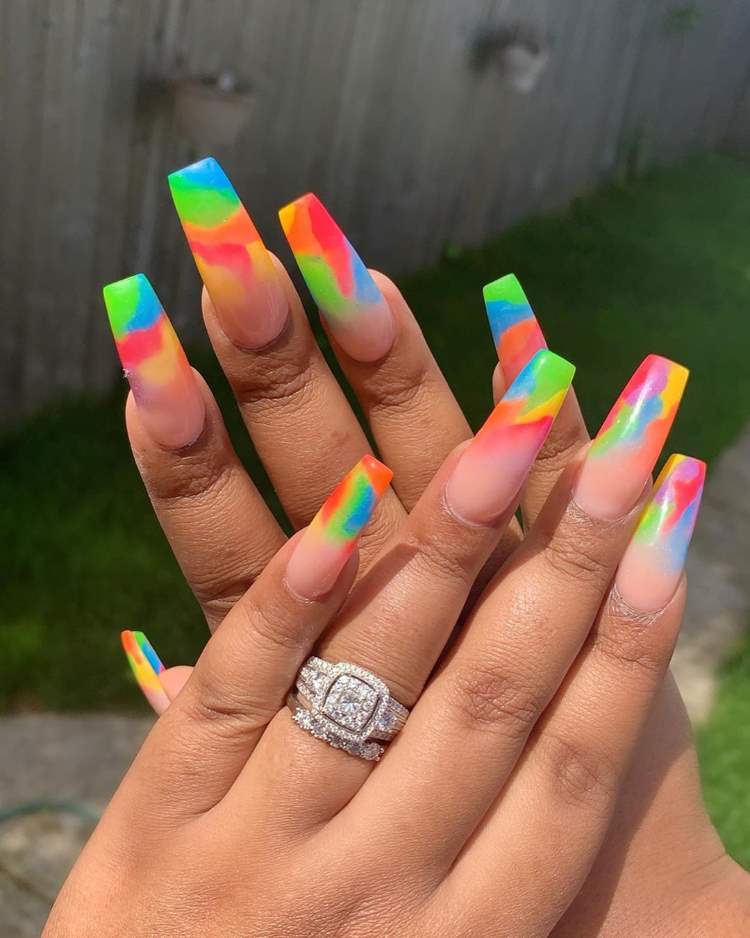
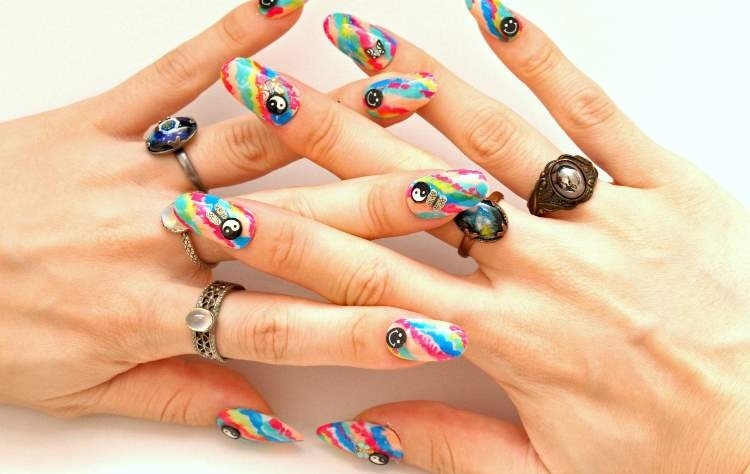
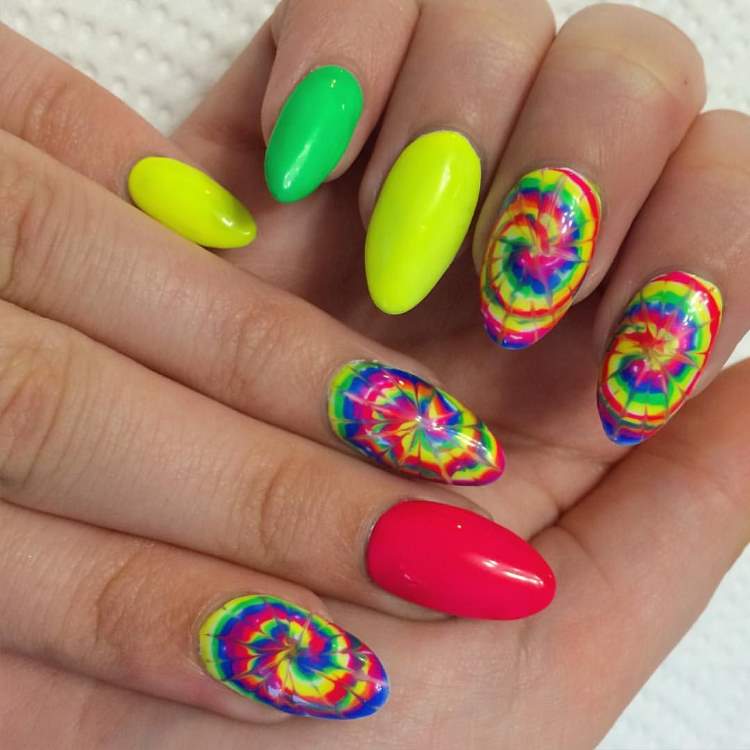
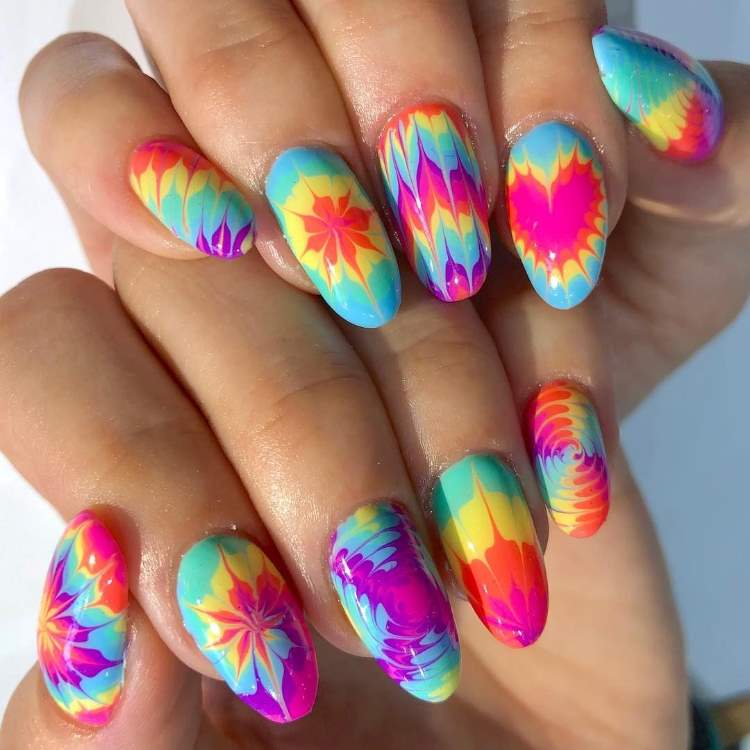
Looking for cool and eye-catching festival nails? Then you are well advised with this eye-catcher!
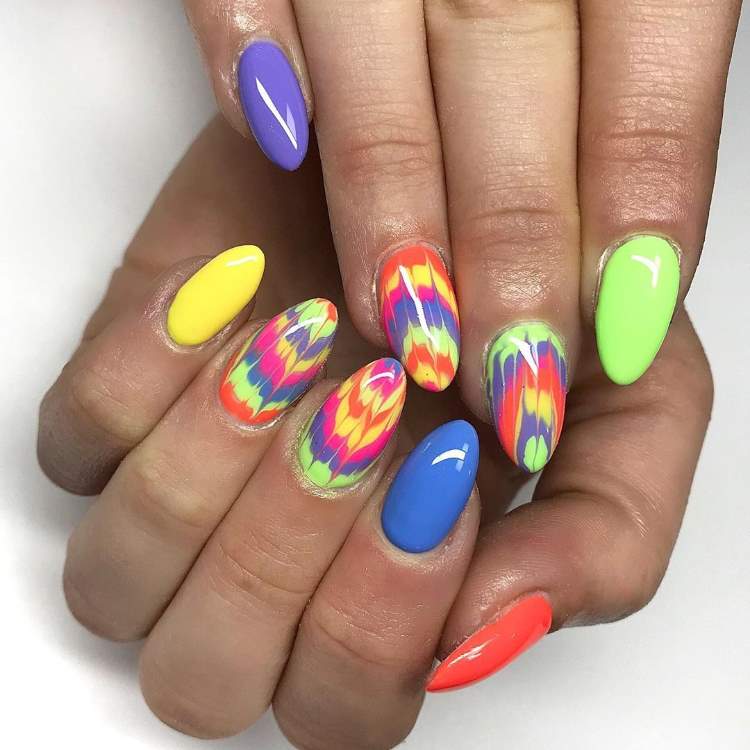
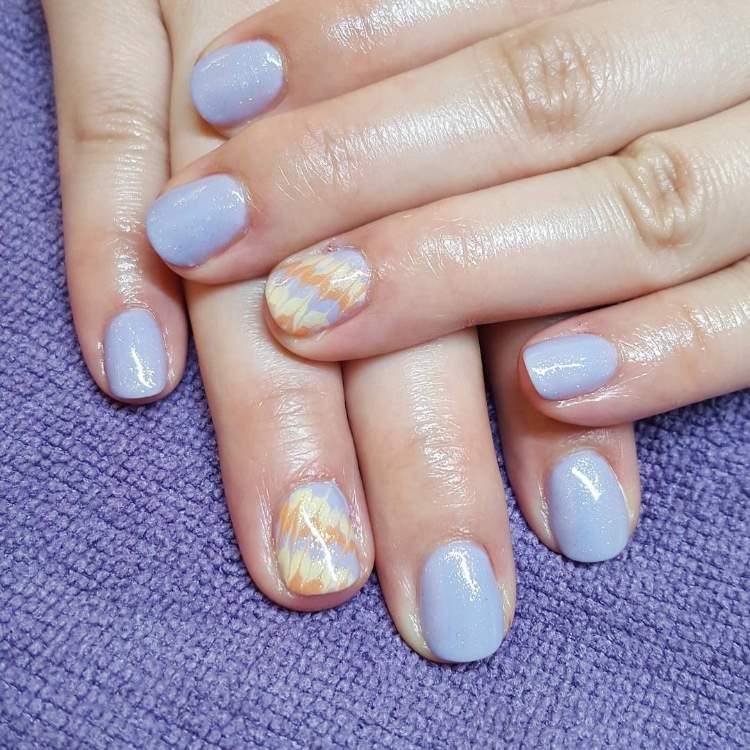
If you want to slowly approach the nail trend, first choose only an accent nail

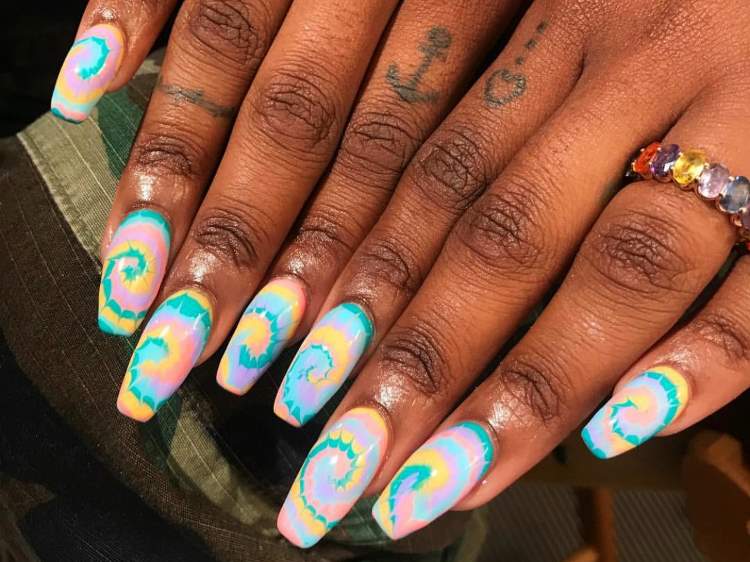
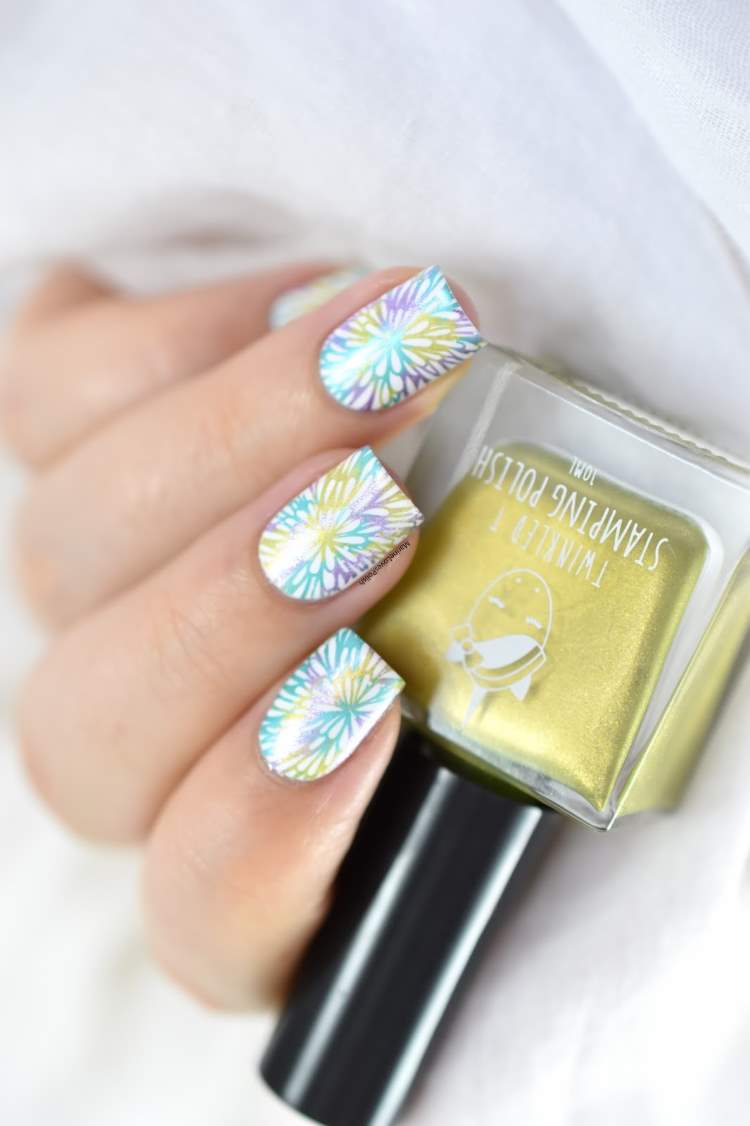
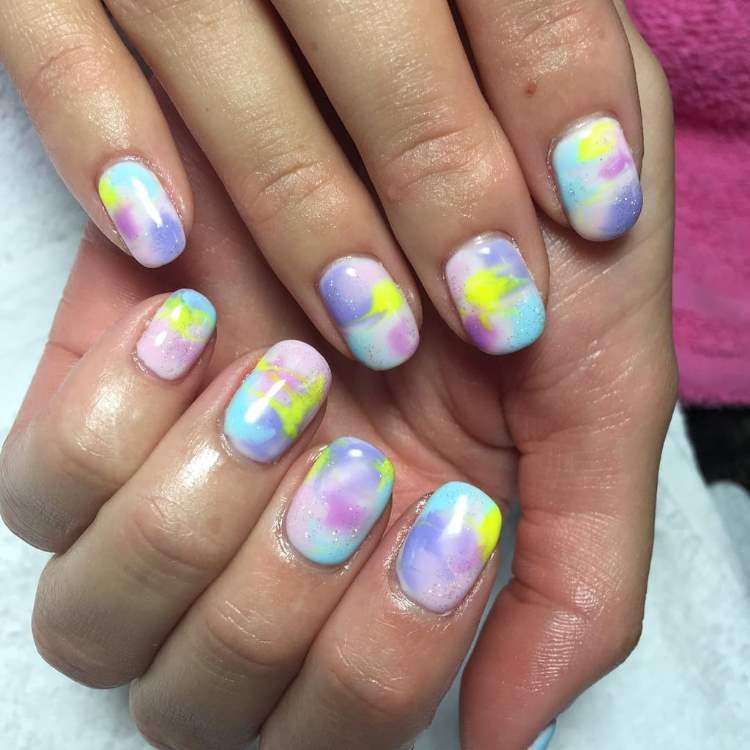
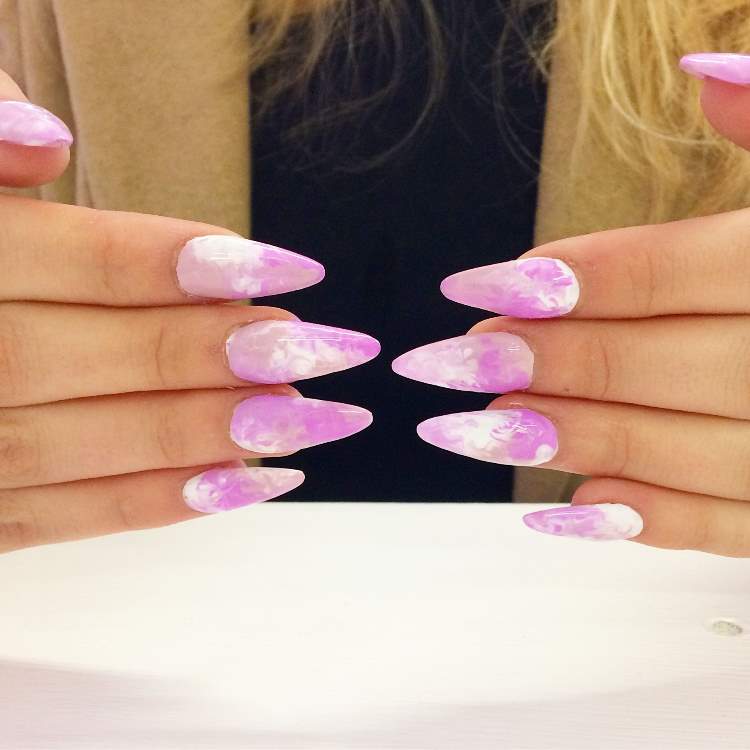
Tie dye nails in pastel colors create a WOW effect
Soft, slightly shimmering nuances give your look a dreamy, happy feeling
With the bold combination of nuances and contrasts, these tie dye nails take the trend to a whole new level.
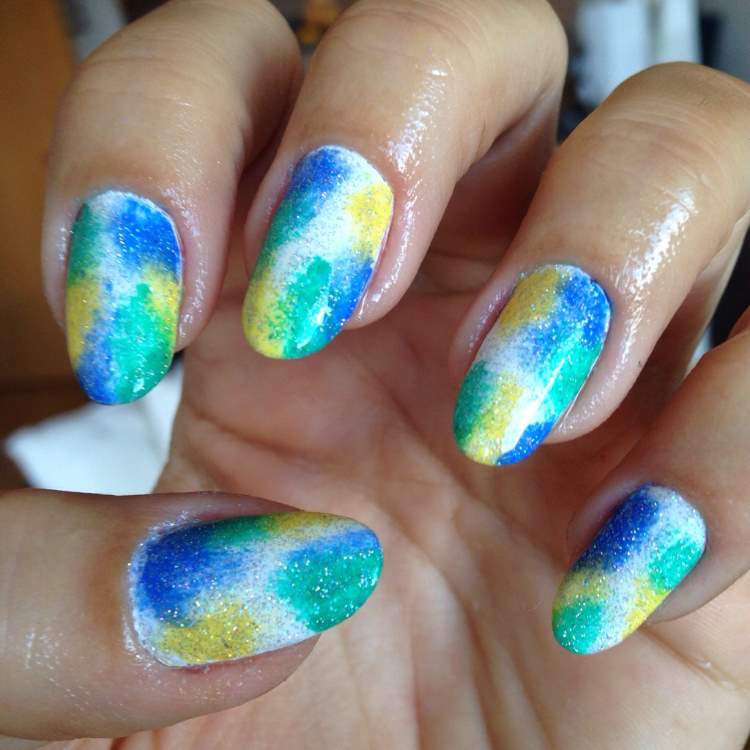
Combine different shades of blue and you have the perfect manicure for your summer vacation
Whether for long or short nails – the nail design always looks fantastic
Use subtle pastel shades to get an office look.
Tie Dye Nails are all about one thing – contrasts!
This is a wonderful look that you can wear in any season.

Turn your manicure into a real masterpiece by adding a few fine rhinestones
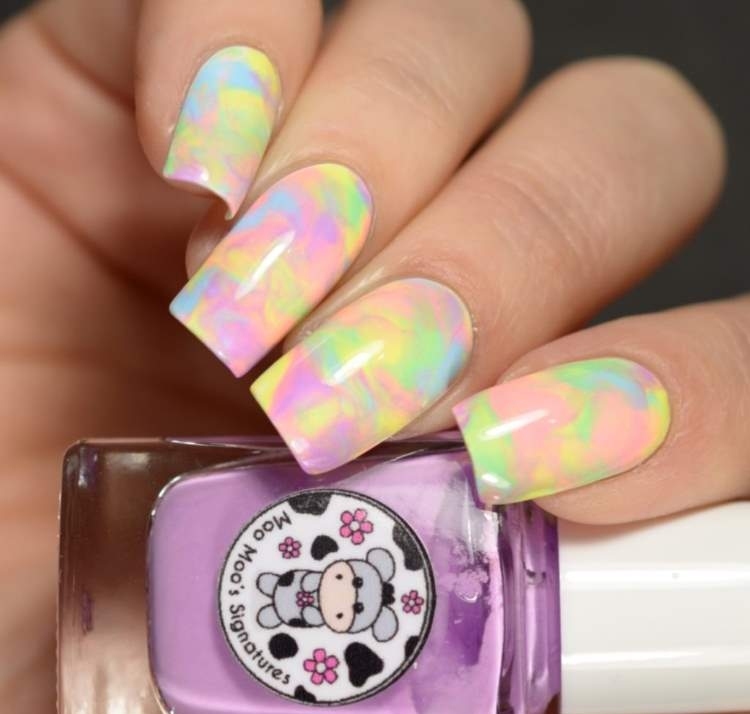
Pastel nuances are timeless and incredibly elegant
The post tie dye nails are the last hit of the year – 20+ ideas and inspirations! appeared first on Deavita.com | Living ideas, design, hairstyles, make-up, lifestyle, health and beauty tips.


")


