Pulling sprouts and growing microgreens: tips for the hobby gardener and instructions
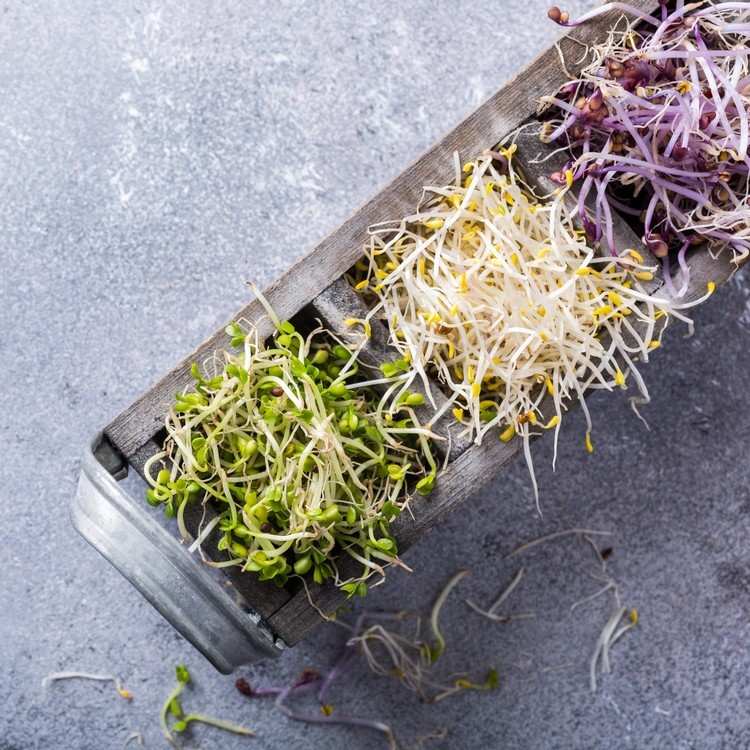
Healthy eating is a priority for many people these days. For them, fresh microgreens and sprouts are the perfect addition to the weekly menu. Especially in the cold season, when the supply of domestic vegetables is very limited, they prove to be a good alternative. You can supply our body with valuable vitamins, fiber and minerals. There is a wide selection of varieties on the market, but if you have a green thumb, you can also pull the rungs yourself and grow the microgreens. We explain how to do it and give useful tips to help hobby gardeners and quivers do the job.
Pulling sprouts: The health benefits at a glance
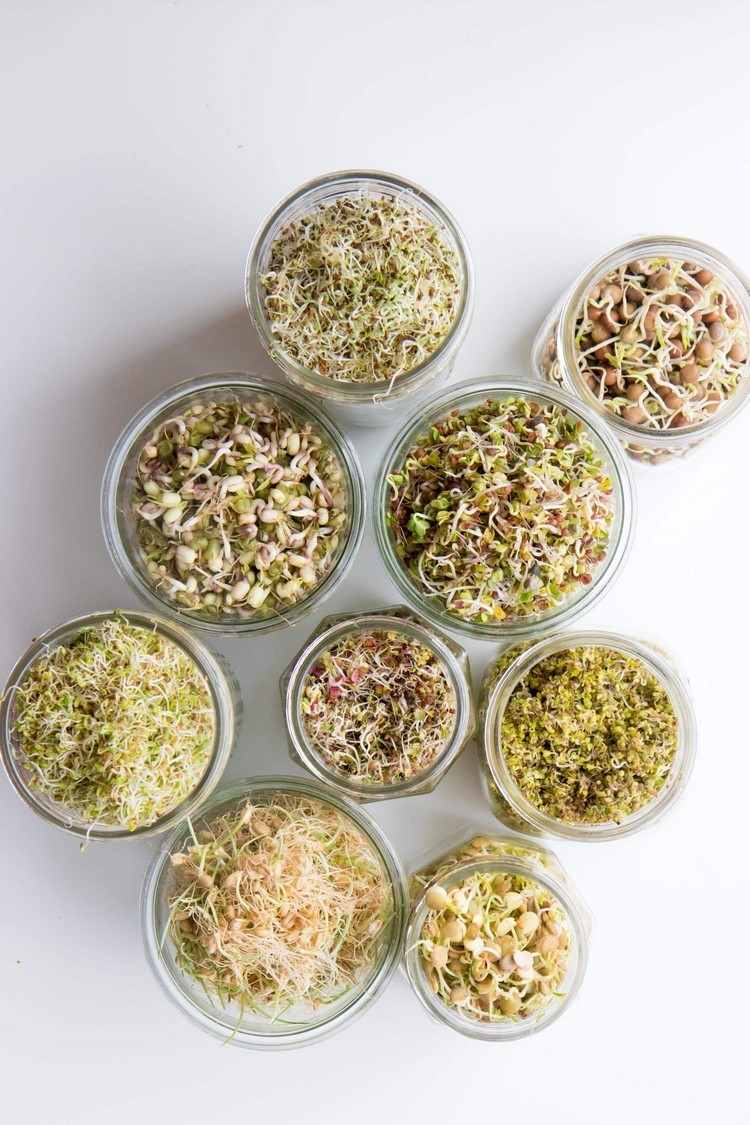
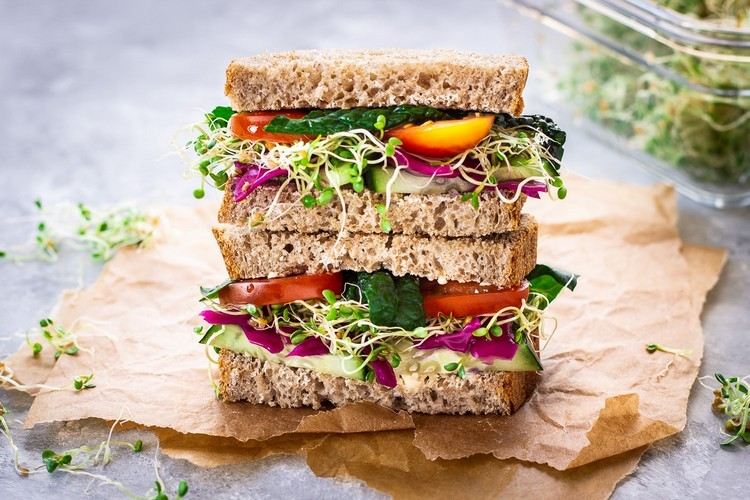
Sprouts usually contain twice as many enzymes, trace elements, carbohydrates, ballast and secondary plant substances as in the vegetables themselves. They are also considered to be true vitamin bombs because they are rich in vitamins A, B and C. The sprouts are eaten raw and the nutrients they contain can be preserved. If you regularly refine your food with sprouts and germs, you are doing something good for your body. Vegetarians in particular like to refine their dishes with fresh sprouts. That is why they are ideal for anyone who wants to eat health-conscious:
- They stimulate digestion and enable our body to absorb all of the nutrients better.
- They provide the body with vitamins and minerals in the winter months
- They have a delicious, slightly crunchy taste
Pulling sprouts yourself: dangerous or safe for our health?
Until recently, sprouts were considered a real superfood. However, in recent years there have been repeated reports of diseases caused by the consumption of raw microgreens. Among other things, dangerous bacteria such as Salmonella, E. Coli, Listeria and Shigella could be isolated in sprouts. The researchers assume that the bacteria were already in the seeds from which the sprouts were drawn. However, they were able to multiply quickly during germination. When germinating, the seeds are supplied with plenty of water and placed in a warm place. The high temperatures and humidity promote bacterial growth. If the germs are then eaten raw, it can lead to dangerous diseases. One could protect oneself from this if some rules are observed when producing the germs. However, since strict hygiene measures can impair the ability of the seeds to form sprouts, measures are usually taken to reduce the number of germs.
Pulling sprouts yourself: Instructions
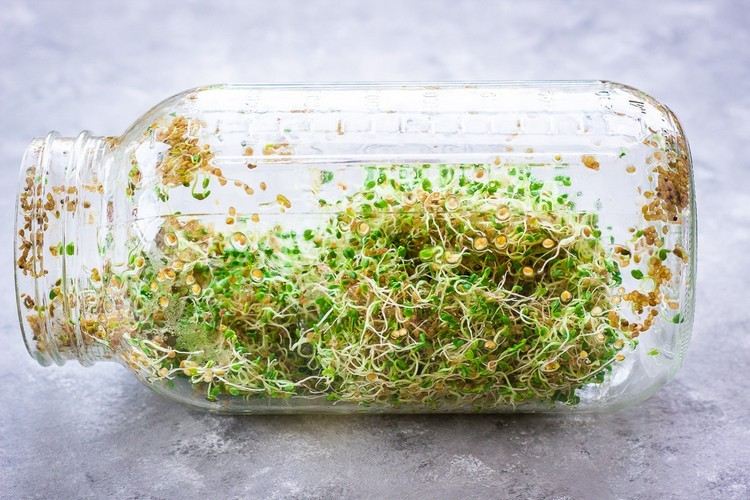
If you want to pull sprouts yourself, there are a few things you should consider. Here is a step-by-step guide that will help you grow microgreens.
1. The first step is to wash the seeds thoroughly. For safety, you can first treat the seeds with a citric acid solution. In the food industry, citric acid, still called E330 on the packaging, is used as a preservative. It can reduce the oxidation processes and therefore also the nucleation.
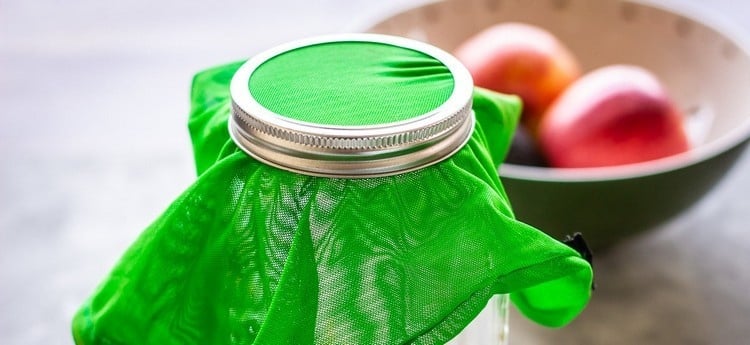
2. Then the seeds are soaked in warm but not hot or boiling water for 12 hours. During this time, the seeds begin to swell and nucleation begins.
3. The microgreens will soon be placed in a glass and covered with well-moistened cotton pads and placed in a dark and warm place. The room temperature should be 28 degrees Celsius. The cotton pads should be moistened 1-2 times a day. Germination can take a total of 5 to 10 days. The sprouts can then be harvested, washed thoroughly, dried and, if necessary, refrigerated.
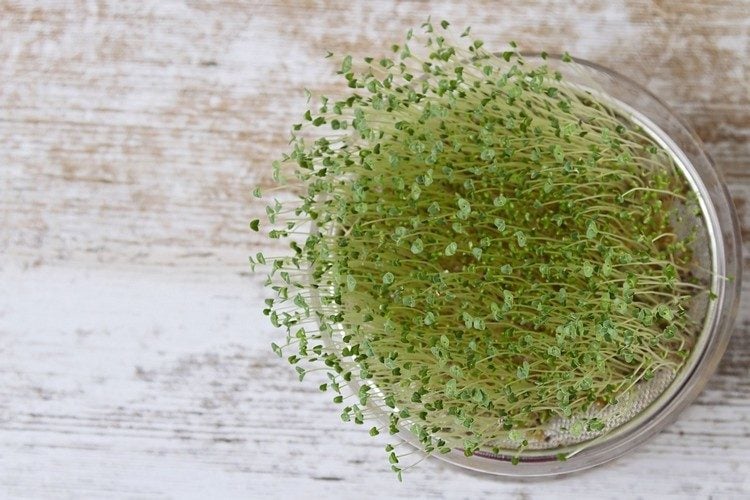
Despite all safety measures, there is a risk that bacteria not only form on the surface, but also in the sprouts themselves. These pathogens cannot be removed by washing. For this reason, the doctors advise against eating sprouts that you have drawn. Most manufacturers regularly examine their production. The hobby gardeners can pull sprouts and then plant them in the balcony box or in the garden. Even if the sprouts contain germs, the other edible parts of the plant can usually be consumed later without any health risk. Of course, you should always wash them thoroughly.
Pull sprouts yourself: fight mold
Sprouts are perishable. If you want to pull sprouts yourself, you often have to fight with mold. Microgreens mold when they are too warm and damp. That's why you should never stay covered for too long. It helps if you open the lid a little in the first few days. Once they start to germinate, you can leave them uncovered.
Pulling sprouts: use glass for nucleation
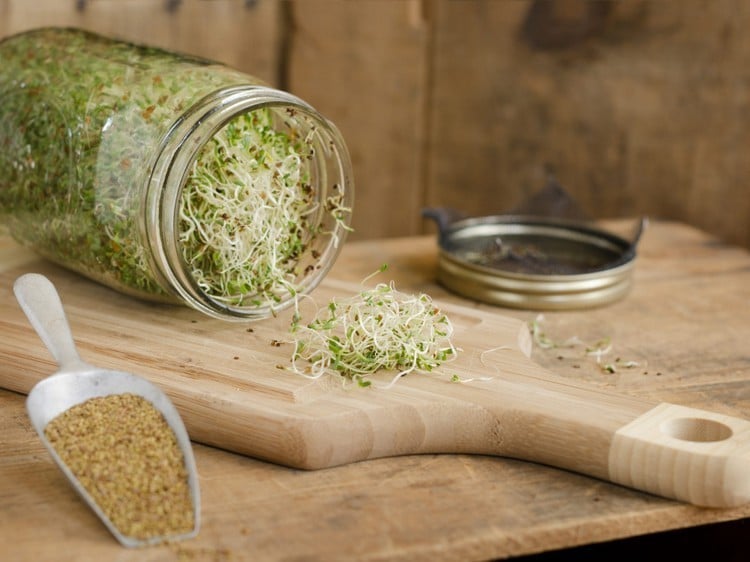
You can also find the so-called growing trays in specialist shops. The growing trays are special containers for growing plants. The bowls are specially designed so that they distribute the water evenly. This prevents the formation of putrefaction. Due to the uncomplicated handling, they are great for complete beginners. Experienced hobby gardeners decide to pull the rungs in the glass. The procedure is as follows:
- First wash the seeds thoroughly under running water.
- Then let the seeds soak in lukewarm water for up to 12 hours.
- Place the seeds in the seed jar and water twice a day.
- Place the glue glass in a light or dark, depending on the manufacturer's location.
- Harvest the germs, wash them thoroughly and keep them cold.
- Unless otherwise noted on the seed packaging, eat the sprouts in the next 5 days.
- Clean the germinal glass thoroughly.
Growing microgreens: Instructions
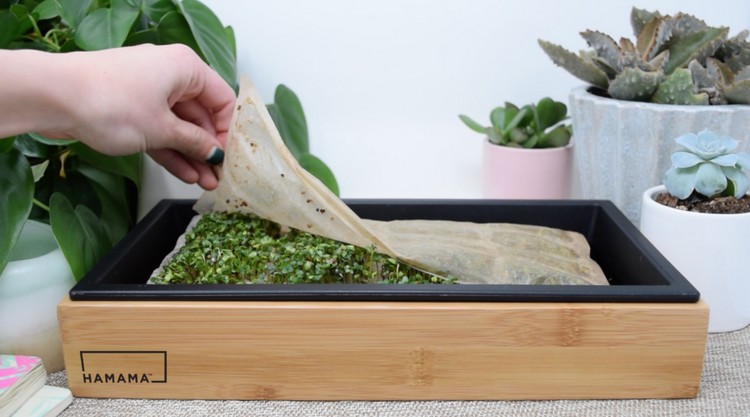
The term microgreens is often incorrectly used as a synonym for sprouts. In fact, the difference between microgreens and sprouts is that sprouts are drawn on paper, cotton pads or in the water. Microgreens are grown in soil and form seedlings much more slowly. They form leaves and look like plants in small format. There are two types of microgreens: the light germs do not need to be covered with earth and the dark germs are covered with little earth.
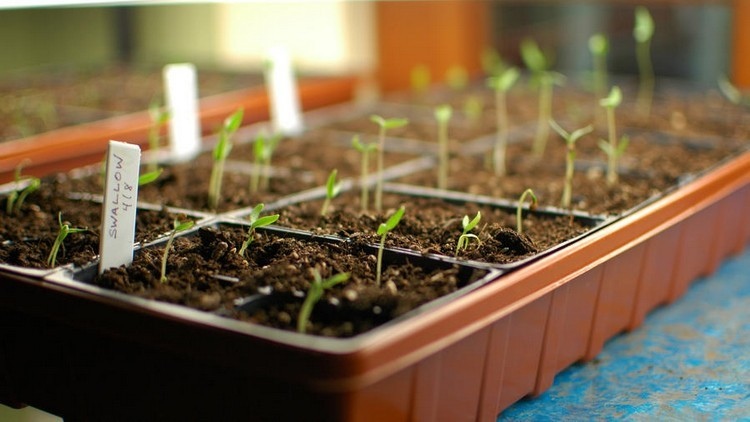
You need seeds, growing soil, small flower pots. Simply cover the bottom of the flowerpot with soil, spread the seeds evenly over it, pour water into a spray bottle and spray the seeds with it. Cover the pot with cling film and place in a bright room at a temperature of around 25 degrees Celsius. The optimal location for microgreens is usually the kitchen. Remove the cling film once a day and let the seeds air for about 20 minutes. The harvest can begin after about 7 days, but it extends over several weeks.
Growing sprouts: which types of seeds are well suited for this?
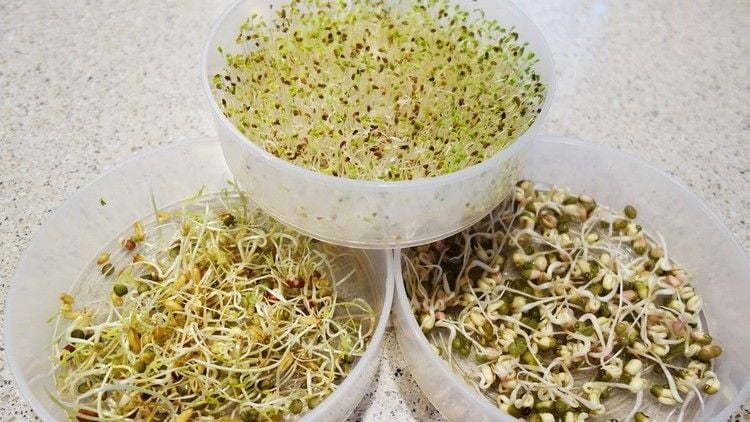
Hobby gardeners and inexperienced cooks should choose vegetables that usually germinate easily. Mung beans are primarily suitable for cultivation, then other vegetables such as alfalfa, arugula, broccoli, beetroot and legumes such as linseed, quinoa or lentils come.
Mung bean sprouts: Instructions
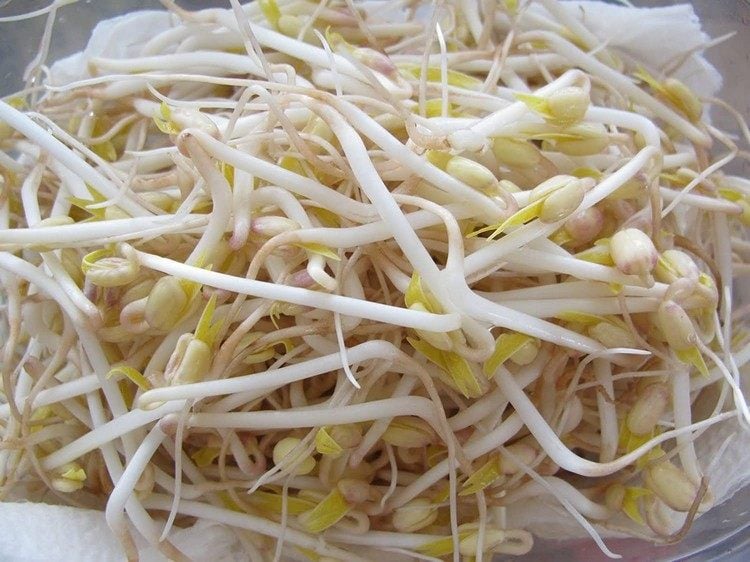
Mung beans are legumes that were used from India to Europe. The taste of the soybeans is confusingly similar, but the two legumes are not related. They are very popular in their home country and throughout Asia. In the USA, too, hobby cooks like to refine their salads with mung bean sprouts. In Germany they are also available under the name Lunja. How to grow mung bean sprouts:
Simply soak the dry seeds in lukewarm water for 8 hours, then drain the water. Place a damp sheet of kitchen paper in a fine sieve and spread the mung beans on top. Cover with a second sheet of kitchen paper, spray with water and cover with an opaque dark plastic bag. Place the sieve in a bowl and leave it in the kitchen at room temperature around 22 degrees Celsius for several days. Moisten the kitchen paper daily and check whether water collects in the strainer. The water should drip into the bowl, otherwise mold can form.
Growing alfalfa sprouts: This is how you let the alfalfa seeds germinate
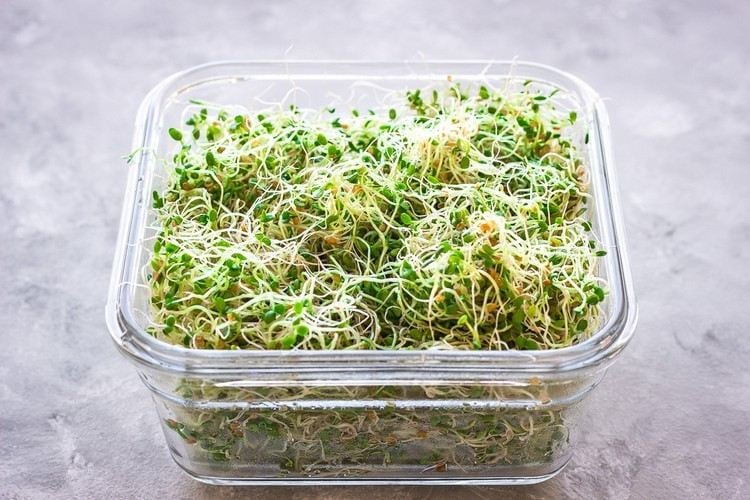
Alfalfa is the name given to alfalfa seeds in the Far East. In Europe, alfalfa has been grown as a fodder plant for centuries, but its sprouts are considered a delicacy in Arabic cuisine thanks to their mild and crispy taste. The Alfalfa seeds need sunlight to germinate. They should therefore be pulled in a bright and warm room.
Grow arugula microgreens
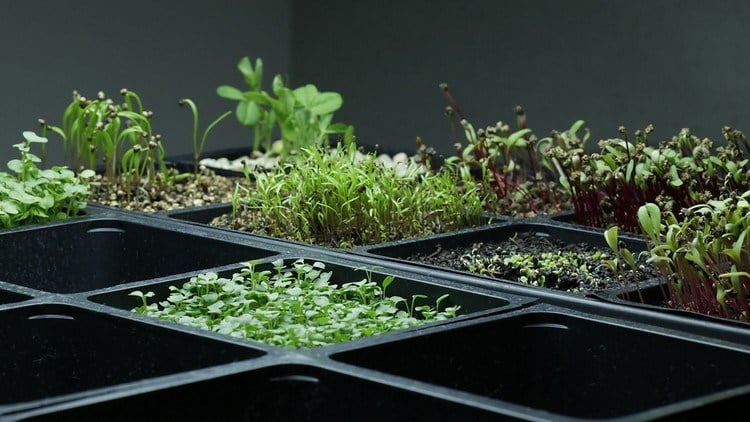
In contrast to the alfalfa sprouts, the dry arugula seeds are grown directly as microgreens in soil. You don't need to be soaked in the water overnight first. After about a week, the first harvest takes place, which could then extend over three weeks.
Let the broccoli sprouts in the glass
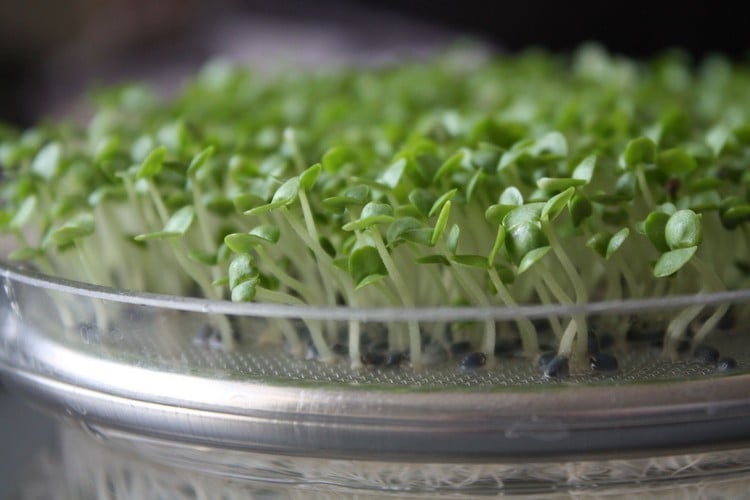
In contrast to other sprouts such as mung beans, broccoli sprouts are very rarely commercially available. So if you want to refine your salad with it, you should let it steep in a glass at home. The broccoli are dark germs, which means that they should be placed in a dark place to germinate. The germination time is quite short, after just four days, seedlings form that can be harvested.
Beetroot sprouts grow much more slowly than other vegetable seedlings
The beetroot sprouts grow much more slowly than other vegetable seedlings. You must first soak them in the water for 24 hours, then put them in a bright place in the jar and after 10 days the harvest can begin.
Pull the quinoa sprouts in the seed glass
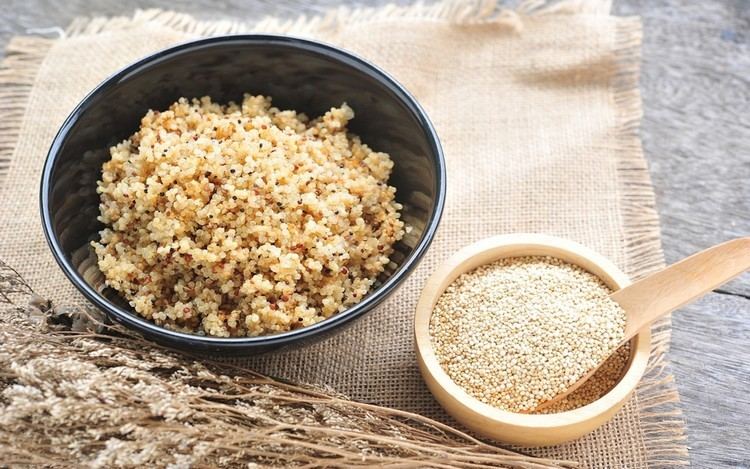
Growing quinoa sprouts is not a difficult task. You need a seed glass with a special sieve lid and a cotton cloth. The quinoa seeds are light germs, that means they fill the glass with water and put the soaked seeds in it. Place the jar in a bright but sunny spot in the kitchen. The germination time is very short – the harvest can start after only one day.
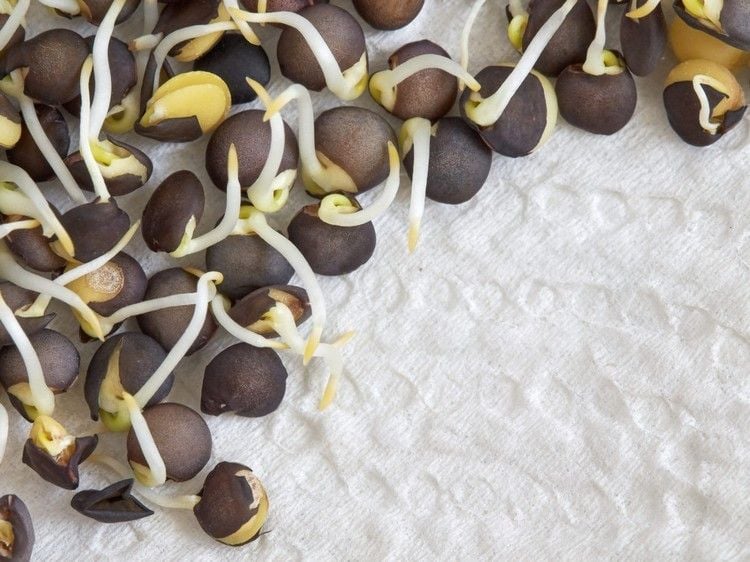
Pull lentil sprouts
Lentil sprouts are very popular for their nutty taste. They are grown in special sprout houses. These houses consist of several scallops and are constructed so that the rungs can be ventilated. The lenses need 3 to 4 days to germinate.
Pull linseed sprouts
Flax seeds are light germs, so a warm and sunny location like the windowsill is suitable. Line a sieve with a cotton cloth and place it in a bowl so that excess water can drain off there. Moisten the cloth and sprinkle the soaked linseed on it. Spray the seeds with water twice a day, after two weeks the harvest can begin.
The post sprout and grow microgreens: tips for the hobby gardener and instructions appeared first on Deavita.com | Living ideas, design, hairstyles, make-up, lifestyle, health and beauty tips.


