DIY coffee table with epoxy resin
Epoxy resin is a versatile synthetic resin, which is mainly used for floor coatings. The resin is also ideal for DIY projects, such as a table for the living room. Here is the step-by-step guide:
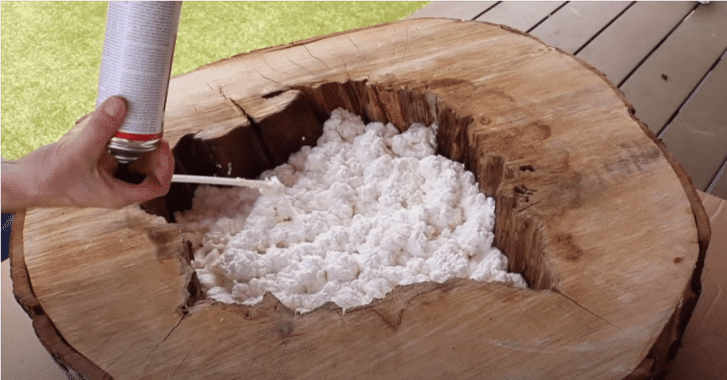 For the table you need a tree slice with a hole in the middle. The dimensions are individually adjustable – depending on how much space you have for the table.
- Place the tree slice on a firm surface, ideally on cardboard. Then you fill the hole with construction foam. You can buy it at the hardware store. Fills the hole so that there are five centimeters between the foam and the bark.
- Now turn the tree disc over. The cardboard will stick to the construction foam, but this is not a problem. Simply carefully remove the cardboard from the construction foam with a knife or wire.
- Using a hot glue gun, carefully fill the holes on the edge of the large hole in the middle. Otherwise it can happen that the epoxy runs in later.
- Mix the epoxy resin. Most consist of a part of resin and a part of hardener. It is therefore worthwhile to find out which mixing ratio is necessary. Here you will find premium quality epoxy resin.
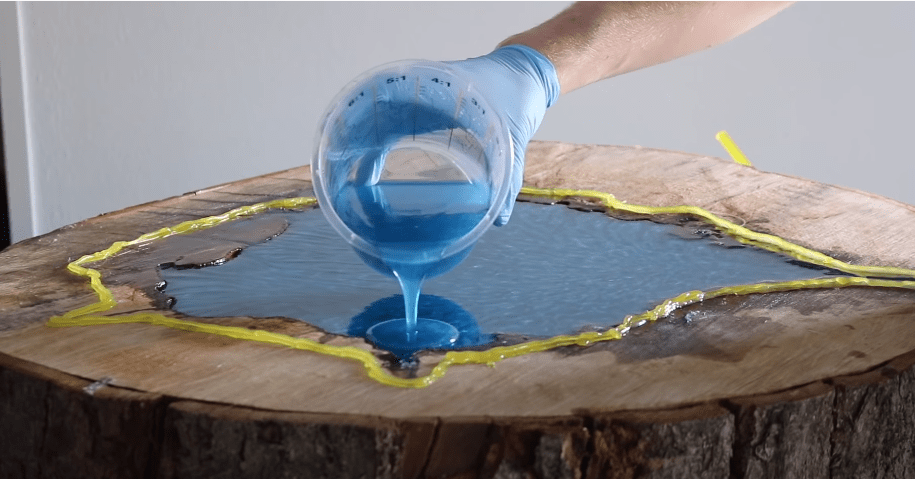
- Color the epoxy. In this case we chose an ocean blue.
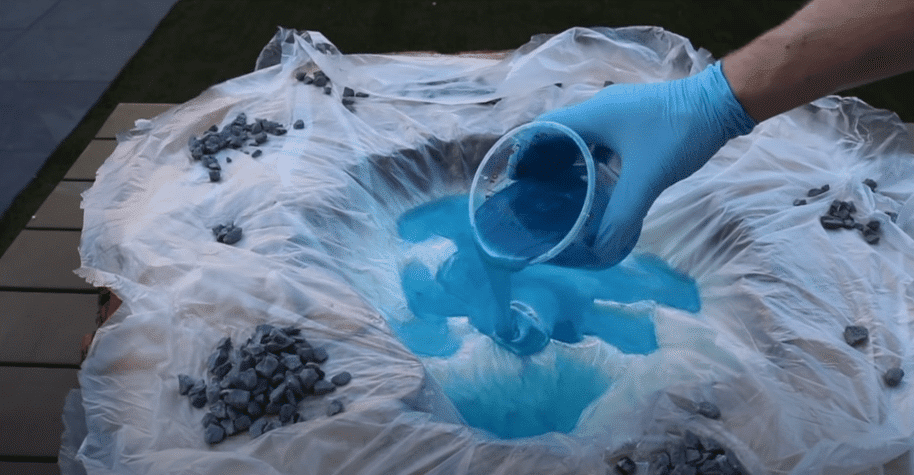 Now line the hole in the tree trunk with plastic wrap. When it is windy, stones should be placed on the edges so that you can work properly. Now pour the epoxy carefully into the lined hole.
- Use a wooden stick to press the film into the corners so that the epoxy can also run there. If there are air bubbles, warm them up briefly with a Bunsen burner. But be careful: the epoxy must not burn.
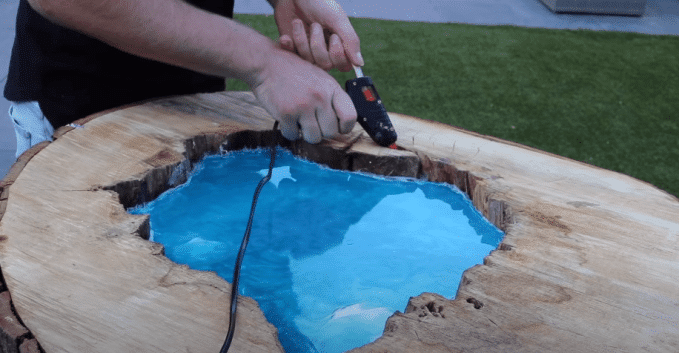 As soon as the hole is half full and the resin has had enough time to harden, you cut off the excess film on the edge. Then fill the holes on this side with a hot glue gun.
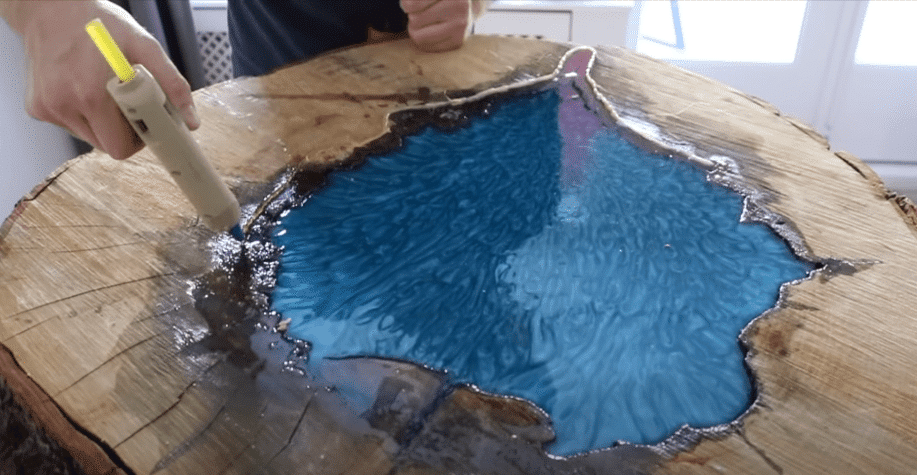 Now you fill the hole further. If the epoxy begins to form air bubbles on the edge, it means that there are gaps in the wood into which the epoxy is now running. To prevent this, press aluminum foil into small balls and press into the places where the air bubbles are.
- As soon as the hole is only two centimeters deep, you make a border on the wood so that the epoxy does not run off the wood.
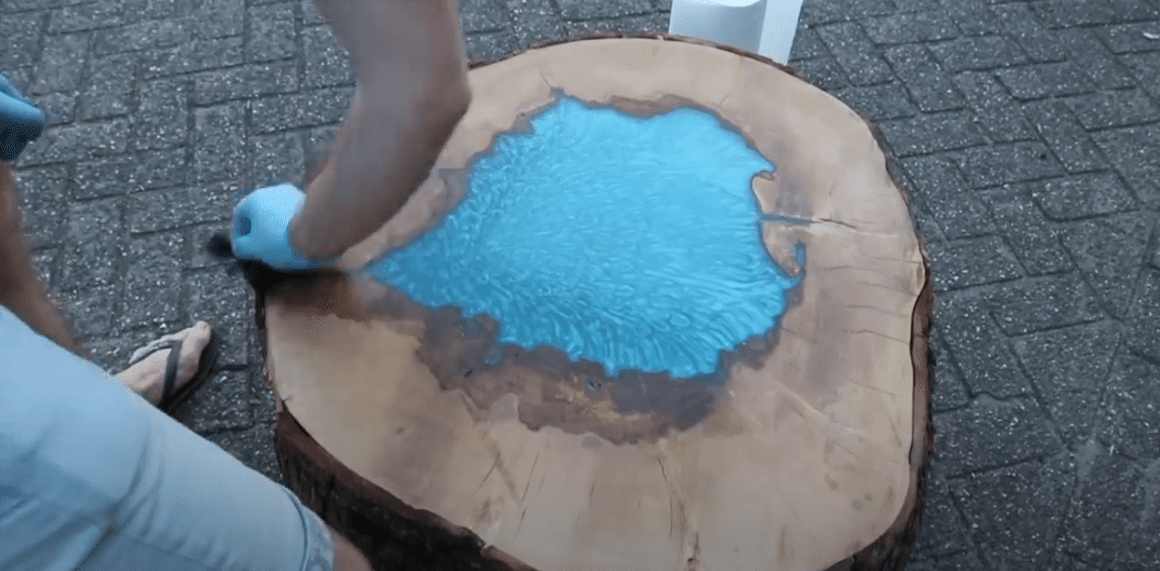
 Now fill the epoxy completely into the frame. As soon as the hole is completely filled up to the edge, let the epoxy harden. Caution: Depending on the base, it can stick to the underside again.
- Now it's time to grind. To do this, you first use a belt sander with which you work the wood on the top. Then you use an orbital or hand sander with a 120 emery paper. Then you use a 240, 400, 800, 1000 and finally 2000 paper. This makes the table top fine and pleasant to the touch so that you don't get any wood splinters in your skin when you use the table every day.
- After sanding, clean the table with water, preferably with a hose and then again with a cloth. So you get all the wood dust from the tree trunk.
- Then the bottom is on. There you proceed similar to the top, by first working the wood with the belt sander. Leave the hole in the middle outside because the building foam is there and it cannot be polished. Then you use the orbital sander with the respective emery paper again.
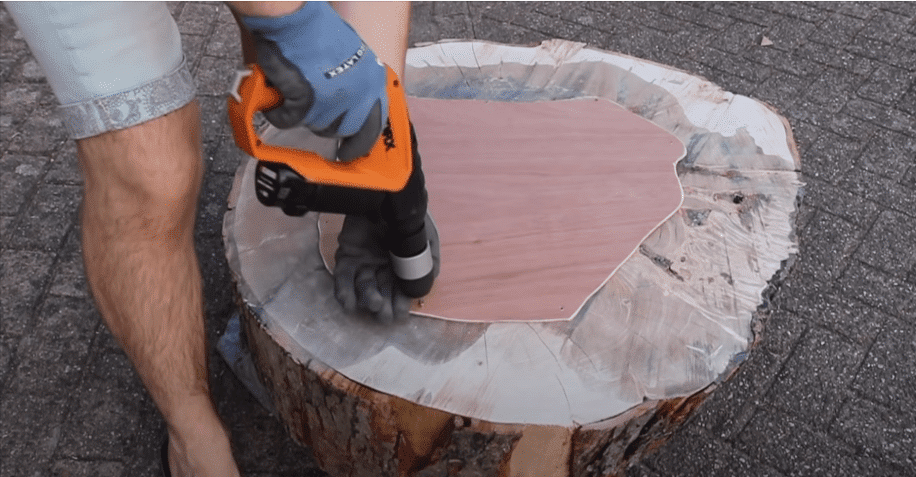 Now place a wooden or metal plate over the hole with construction foam and screw it on. Now screw your feet to the corners of the trunk so that the table can stand. It is best to use metal feet, as the wooden plate will likely be very heavy depending on how wide your wood is. To protect the metal feet, you should stick rubber knobs to the places that touch the floor.
- Now you polish the table with an oil for wood or wooden floors. So you protect and care for the wood and the table looks high quality. But be careful not to oil the epoxy resin. And your new coffee table with epoxy resin is ready!
The post DIY coffee table with epoxy resin appeared first on DIYDEKOIDEEN | diy ideas – deco – craft ideas – gifts – decoration.


")


